Near an old mountain path once used by Sixth Astral Era woodcutters as a detour through the more perilous stretches of northern Thanalan, lies a cave sought out only by the ignorant or the foolish. Upon first glance, the shade of its maw might appear inviting to one who seeks to escape the punishing rays of the midday sun. However, any good woodcutter knows to keep his distance, for it is said all who enter, never return-the cries of the damned echoing up from the depths the only testament to their folly. Heed this dire warning, and you may live. Ignore it, and soon it shall be your screams that add to the cacophony.
Where is Cutter’s Cry: Located in Central Thanalan, West of Black Brush Station
Cutter’s Cry General Information
This is the first dungeon where the map has traps in them, it’s a theme you will continue to see in various forms in the dungeons to come. Boss mechanics are pretty straightforward and the final boss is actually fun to play (I know we enjoyed learning the mechanics of the fight!)
Traps – There are several Quicksand and Exploding Pillar traps riddled across the dungeon. Be careful not to step on them during fights because they deal a good amount of damage and when fighting a group of enemies could deal enough damage to throw your healer off.

Bombs – The bombs in this dungeon should be dealt with carefully, their explosion will kill you if you are caught in the casting radius.
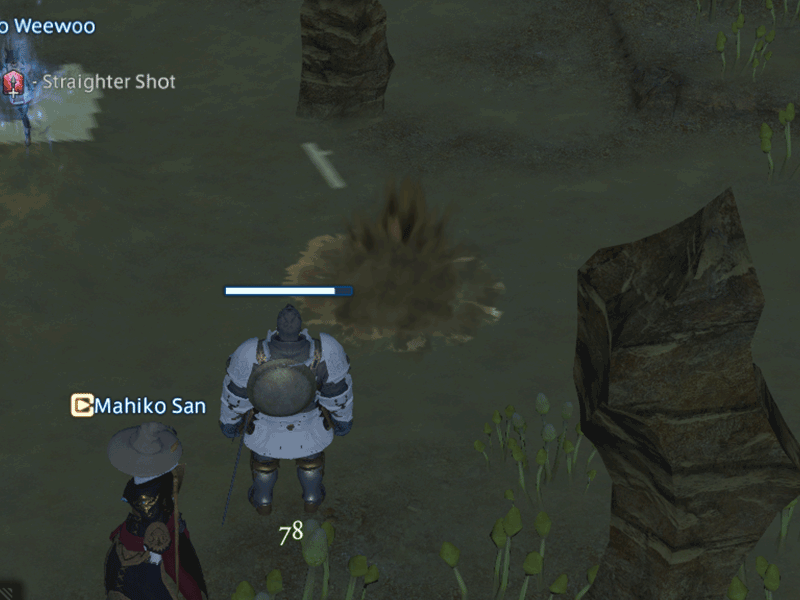
Cactuar (Saboteur Desertor) – This guy casts the traditional 1000 needles, something to note is the damage is shared to all party members who are caught in the cast circle. This ability can also be disrupted by stunning the Cactuar.
Cutter’s Cry Boss Strategy
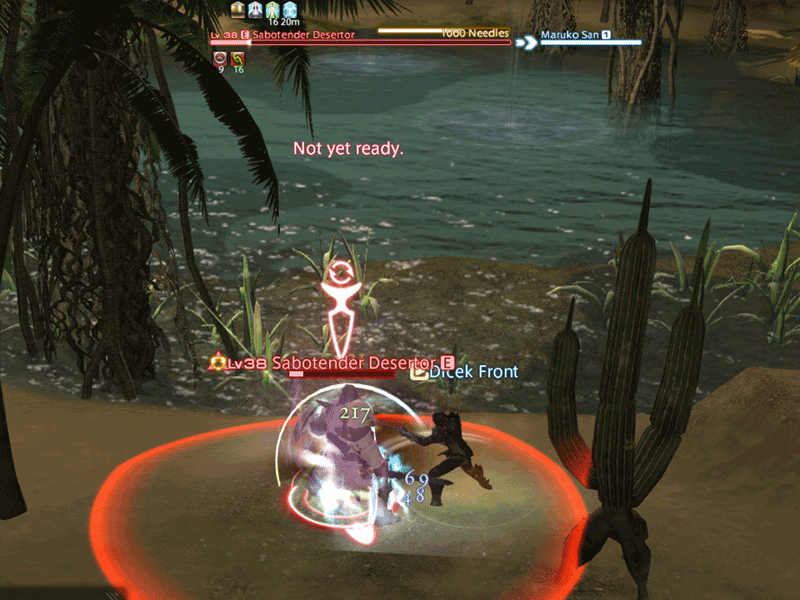
Myrmidon Princess
The first boss of Cutter’s Cry is Myrmidon Princess, her mechanic is simple – she spawns minions to aid her when she falls below 50% life. As a Tank, make sure you get as much emnity from the adds with priority of tanking Myrmidon Princess, keep her facing away from the party because she has one cone attack skill that deals big damage if you are hit with it.
Skills
- Mandible Bite (Frontal Cone) – as a tank keep the Princess facing away from the party
- Silence – Casts silence at random party members
At 50% life she starts spawning adds:
- Myrmidon Marshal – Has Mandible Bite. Defeat this add ASAP because he heals the princess.
- Myrmidon Guard – Has Mandible Bite
- Myrmidon Soldier – Weak and easily defeated
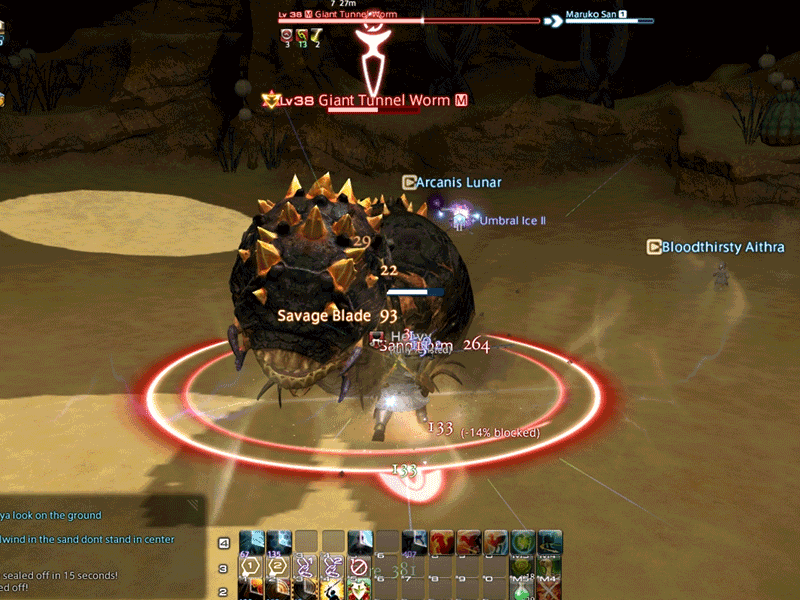
Giant Tunnel Worm
The Giant Tunnel Worm fight is easy if you follow a simple rule, whenever he burrows, stay at the outermost part of the map (ring shaped)
Phase 1
- Sandstorm (frontal cone) – no cast bar
- Burrow – Giant Tunnel Worm burrows into the sand and will pop up dealing AoE damage to whoever is in the vicinity
- Targetted Sand attack to random party members
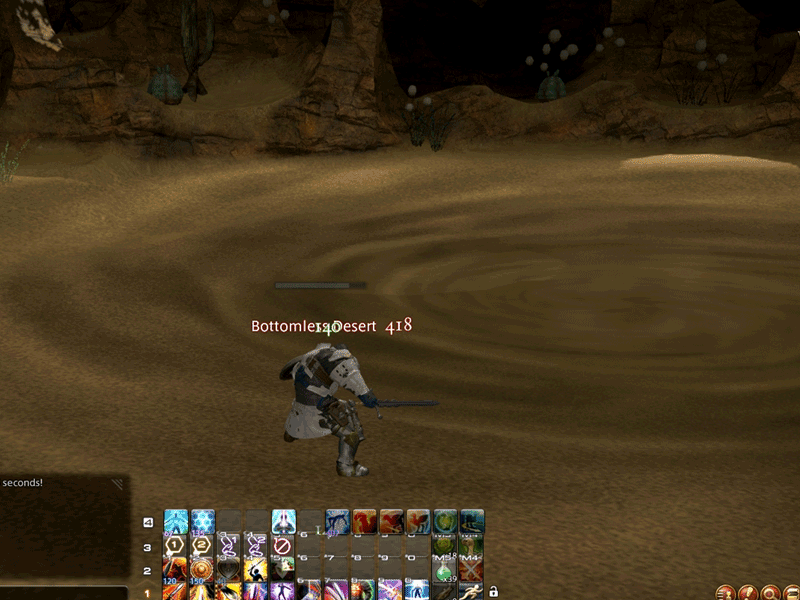
Phase 2 50% life
- An additional Burrow attack is added called Bottomless Desert – Giant Tunnel Worm burrows and casts a sand trap that sucks everyone to the center, the closer you are to the center the higher the damage
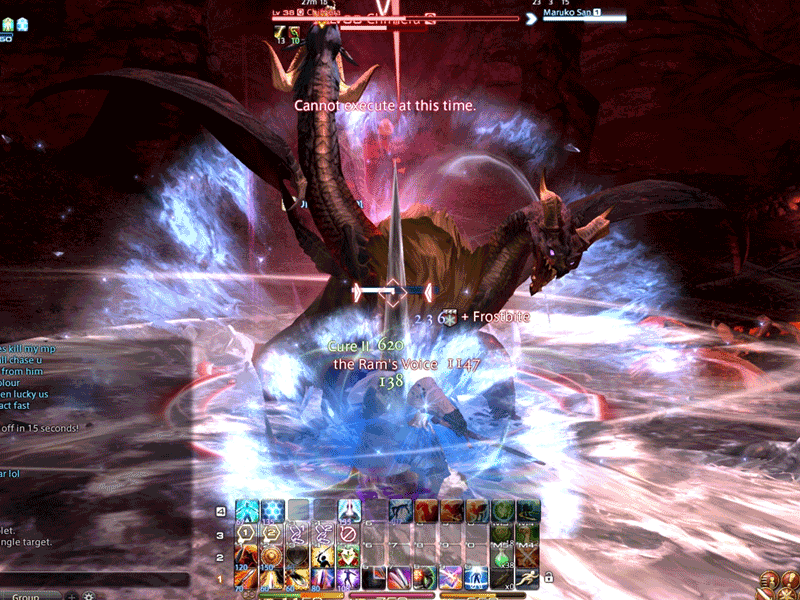
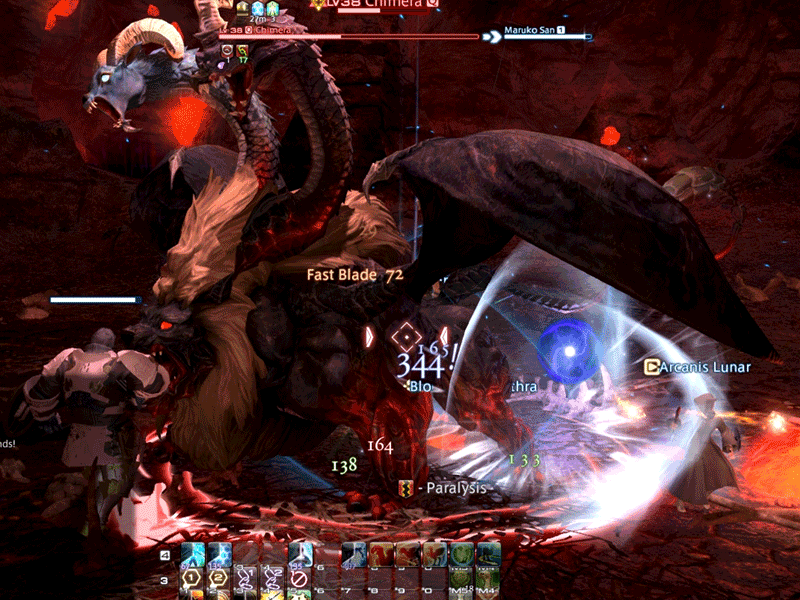
Chimera – Final Boss
We had a fun time playing this boss, he has a numerous skills but if you know how to deal with them, they are easily managed. The Chimera has 3 heads (Left Head is a Dragon, Middle Head is a Lion, Right Head is a Ram). Key thing to remember in this Dungeon, is to watch the color of the Chimera’s eye. There will be a prompt letting the whole party know what color the Eye of the Chimera is. Remember, don’t stay too far or too near the Chimera so you can react according to how it changes its eye color.
- Eyes turn Blue =Stay Away from Chimera, He will cast a PBAoE (Ram’s Voice)
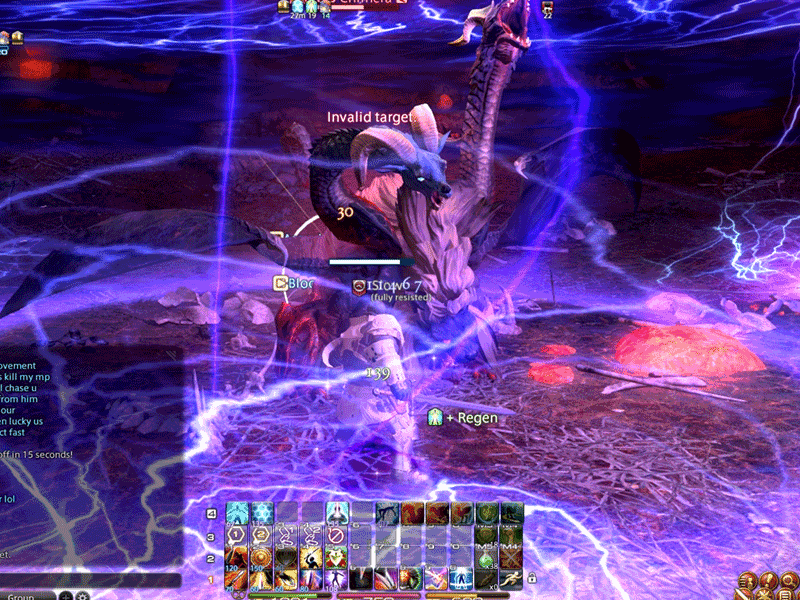
- Eyes turn Violet = Stay Beside Chimera, He will cast an AoE attack and damage party members who are too far away from it
- Eyes focus on a Single Target = Don’t panic he will cast a ball which will follow his target and explode, this is a DEMI attack halving the life of anyone caught in the exploding radius, if you are the target try to get the ball away from the rest of the party and move out to let it explode.
Skills
- Dragons Breath – the dragon head casts a cone attack on the left area of the Chimera dealing ice damage
- Lions Breath – the lion head does frontal cone AoE dealing fire damage
- Rams Breath – the ram head casts a cone attack on the right area of Chimera dealing ice damage
- The Ram’s Voice – PBAoE which should be avoided by your party members. It’s ok for the Tank to try and avoid also if they can.
Guide was perfect. Thanks!
Guide is actually spot on, worked for me
this guide is completely wrong. dont listen to it
Curious why you think the guide is wrong Jack