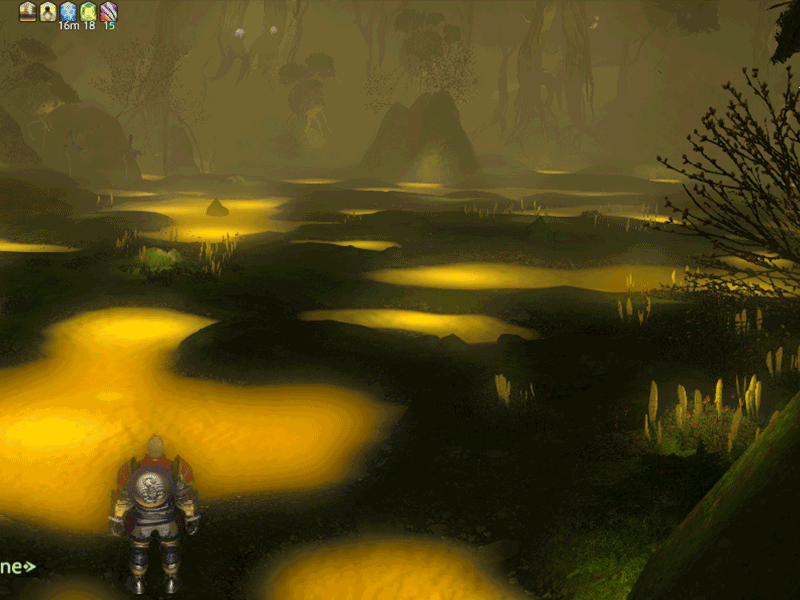
Soon after its discovery, miners from across the realm flocked to the Aurum Vale, driven by rumors that deep within lay endless veins of mythril. What they found instead was gold, but not the sort which would make them rich. Believing the substance precious aurum, miners unknowingly stumbled into deep pools of glowin venom thereafter known as goldbile. Not only did the liquid burn their skin, but the noisome fumes given off by the foul ooze cooked their lungs when inhaled, bringing on a quick, yet excruciating death. These truths, however, have done little to prevent new miners from braving the suffocating shafts, now even more driven to find what those who entered before could not.
Where is Aurum Vale: Located in Coerthas Central Highlands, South West of Camp Dragonhead, South West of First Dicasterial Observatorium of Aetherial and Astrological Phenomena (mouthful huh!) near Dzemael Darkhold actually.
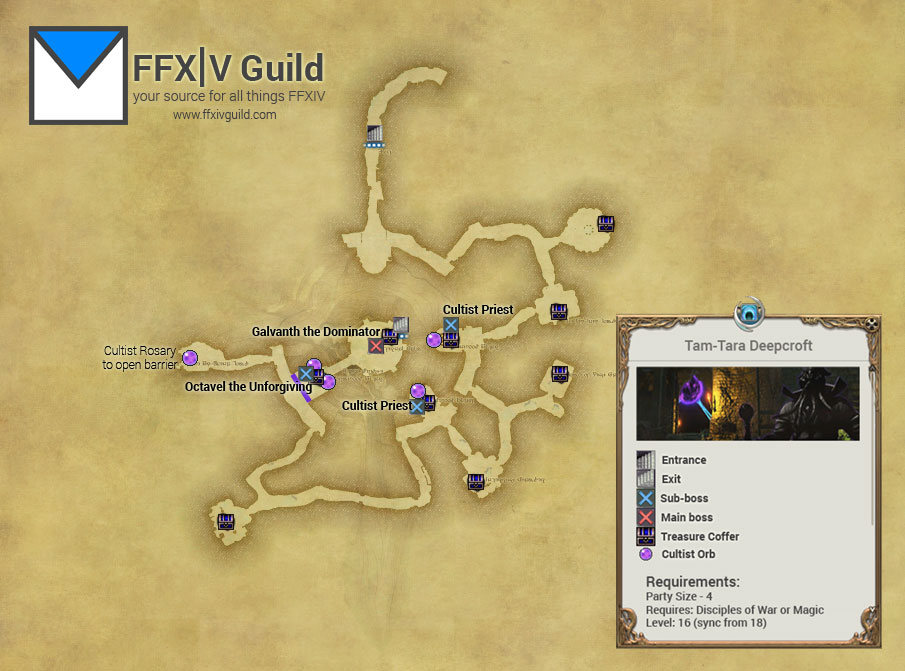
Aurum Vale General Information
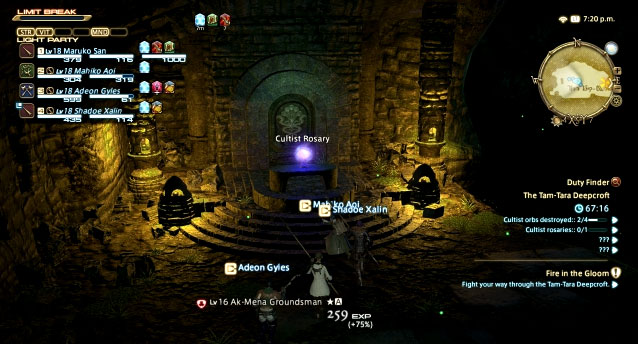
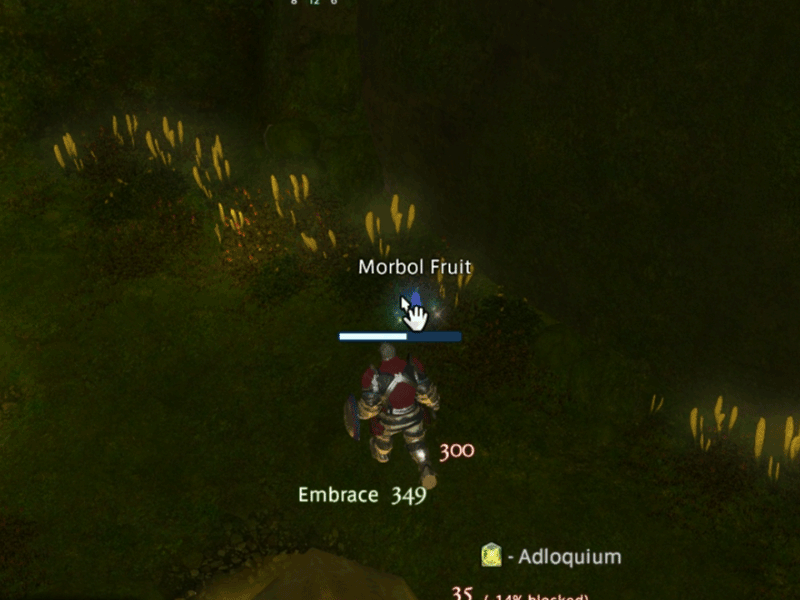
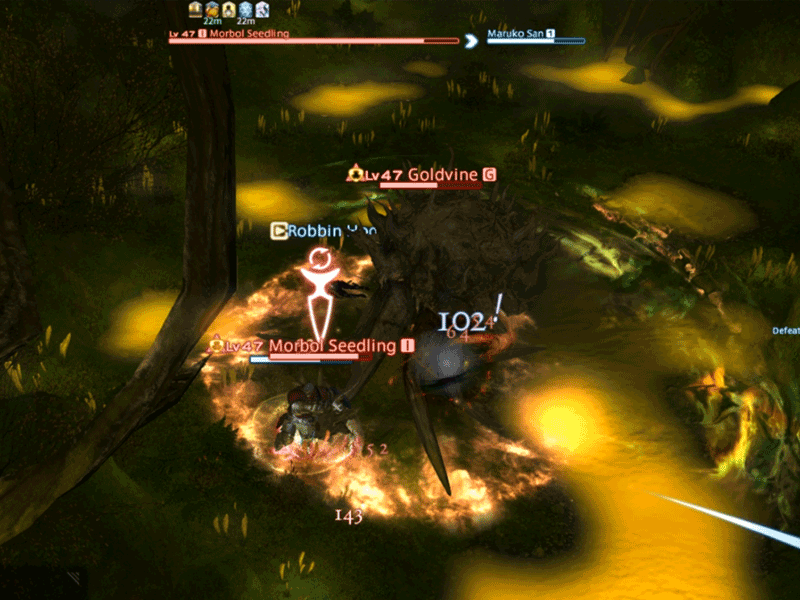
Aurum vale is all about poison, so you can imagine… Ochu’s and Malboro’s! Wohoo! Bad Breath time… Watch out for the Goldbile (map traps) and while fighting the bosses make they stack a poison type debuff called ‘Gold Lung‘ which you can cleanse yourself from eating the morbol fruits in the map. There are also mini-boss Malboro’s called Goldvines (there are 3 in the dungeon). Before fighting each Goldvine there will be morbol eggs that will spawn morbol’s if you do not defeat them in time.
Aurum Vale Boss Strategy
Locksmith
This is a straightforward fight, everyone should be careful of the number of ‘Gold Lung‘ stacks you have on you, once they hit 2-3 stacks make sure you cleanse them off by eating a Morbol Fruit. Tanks should keep locksmith facing away from the party and also stun his AoE when possible.
- Hundred Lashings: Targetted attack to person who has emnity
- Gold Dust (PBAoE): This can be stunned, deals pretty big damage and poison
- Gold Lung Blast: This is an instant AoE that Locksmith casts which hits the whole area, players then

Coincounter
Coincounter is a giant cyclops, what a cyclops is doing in this dungeon… Who knows! But I see what they are doing with the name and the theme of the dungeon, being a Cyclops does make someone a good Coincounter… LOL. One thing to note while fighting him he sometimes, even if your tank has full emnity, runs to a random party member and attack them.
- 10 Tonze Swipe (frontal cone): This is an instant cast skill, but nothing to worry too much about just position Coinconter away from the other party members for this.
- 100 Tonze Swipe (frontal cone): Position away from Coincounter to avoid this attack, trust me… It hurts!
- Glower (targetted attack): Coincounter targets a random party member and shoots a laser from his eye… YUP!
- Eye of the Beholder (massive frontal cone rage): at about 50% health and below, he will face a random party member and do this ability, if you are targetted try to position away as far as you can. This can be disrupted by stun BTW.


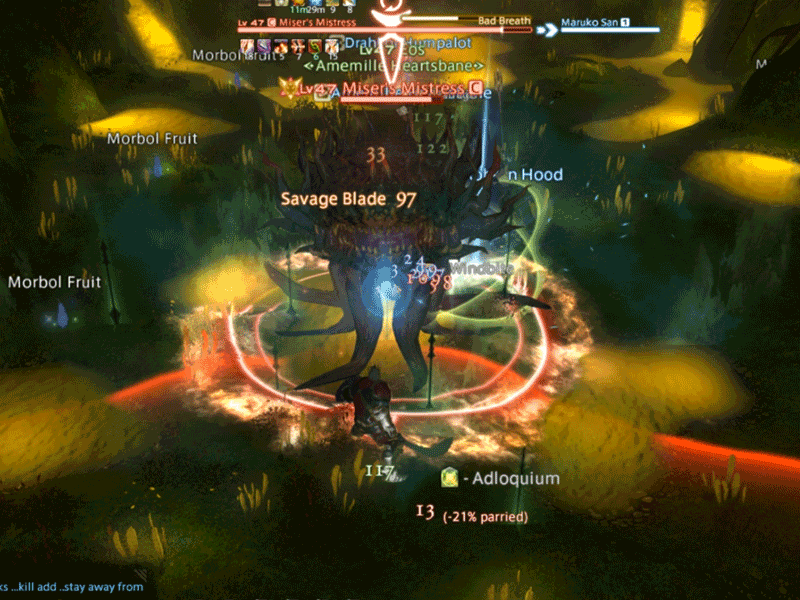
Miser’s Mistress
The Mistress is a yup… Another Malboro/Morbol. This fight has the same mechanics as the fight with Locksmith, you stack up ‘Burr‘ counters and you must cleanse them by eating ‘Morbol Fruits‘. ‘Burr’ is a poison stack similar to the Gold Lung stat inflicted by the first boss you fight in Aurum, Locksmith
- Vine Probe: Frontal line attack targeted at the party member who has emnity
- Burr Burrows: Map wide AoE which damages and gives party members ‘Burr‘
- Bad Breath (Frontal Cone): The infamous Malboro skill, you know the drill – stay away from this!
- Hooked Burrs (Targetted attack): Mistress targets a random party member, hits them and inflicts a ‘Burr’ counter
Phase II (50% life and below)
- Sow & Germinate: Miser’s Mistress spawns multiple ‘Morbol Fruit’ around him. Don’t be fooled, and just like the fight with Goldvine, defeat these fruits before they become ADDS


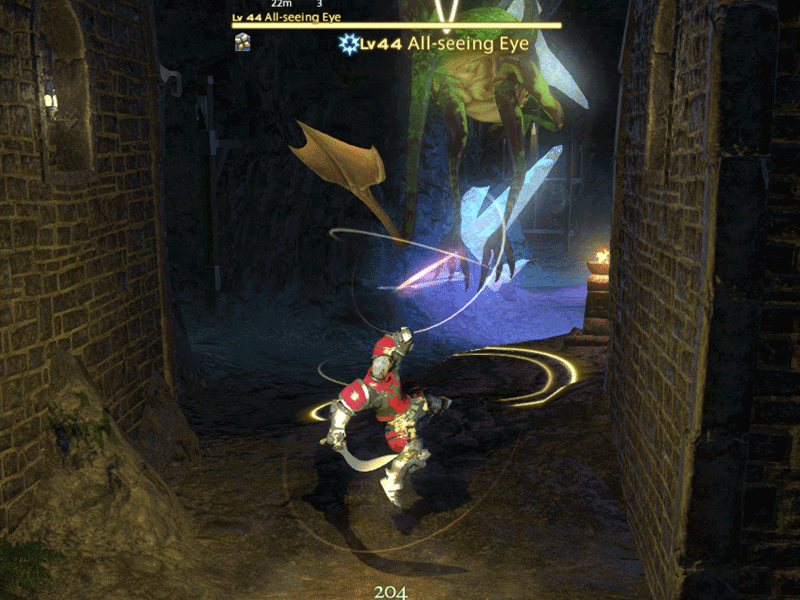


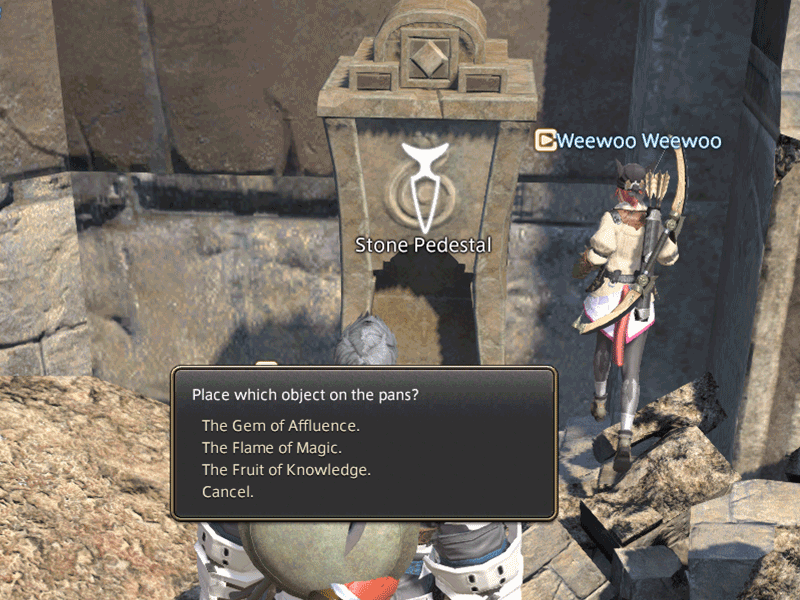


 click on image to enlarge
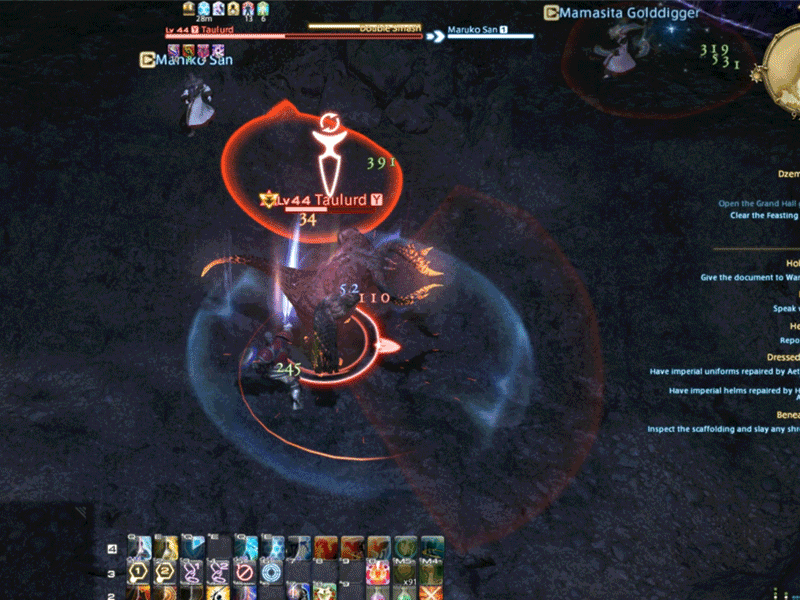
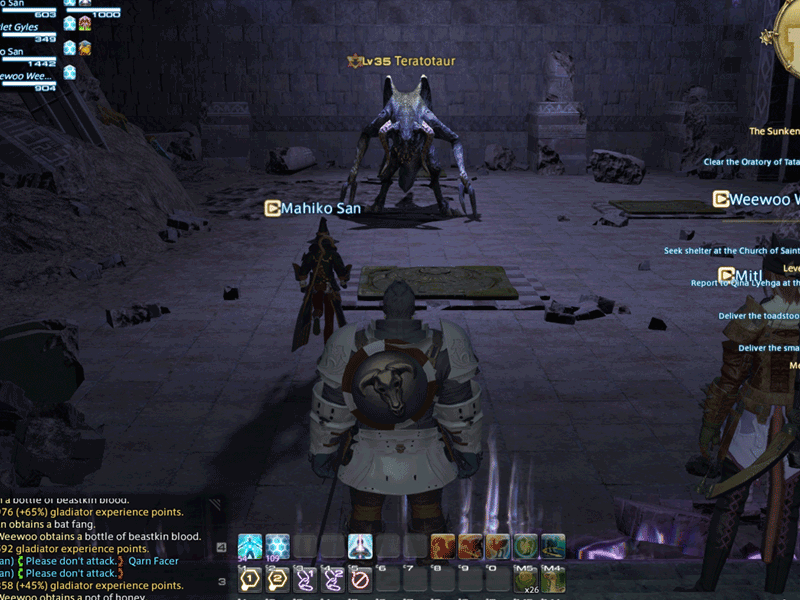


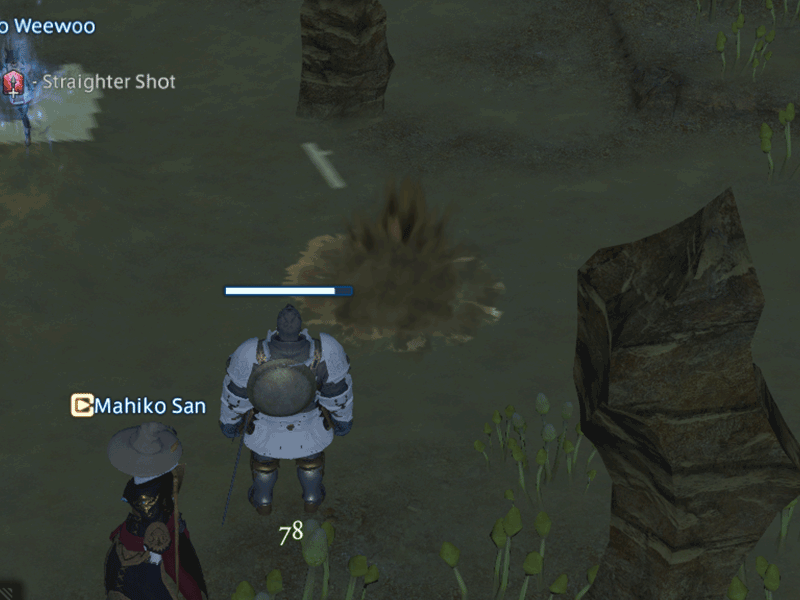
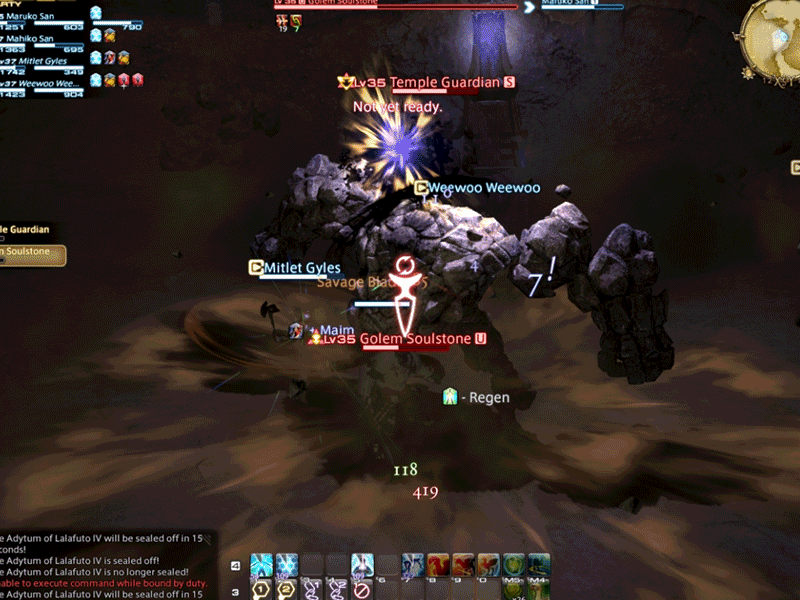
 click on image to enlarge
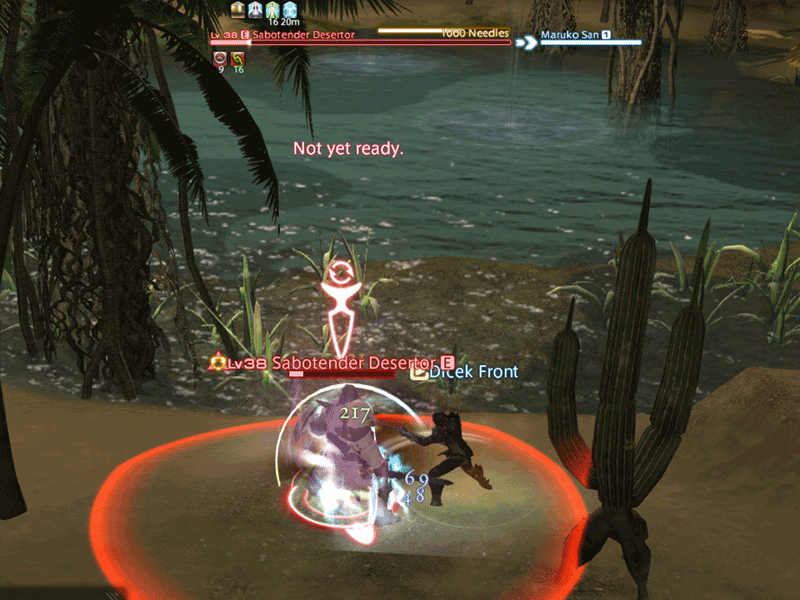
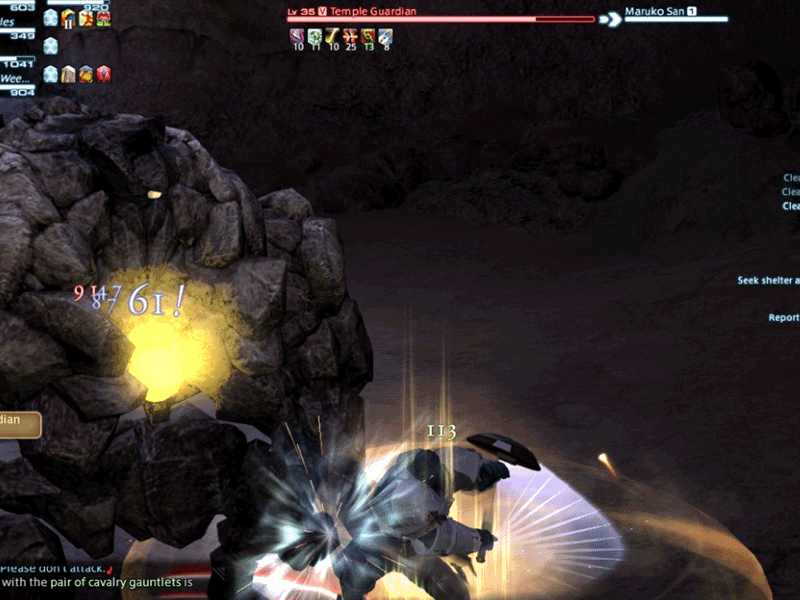