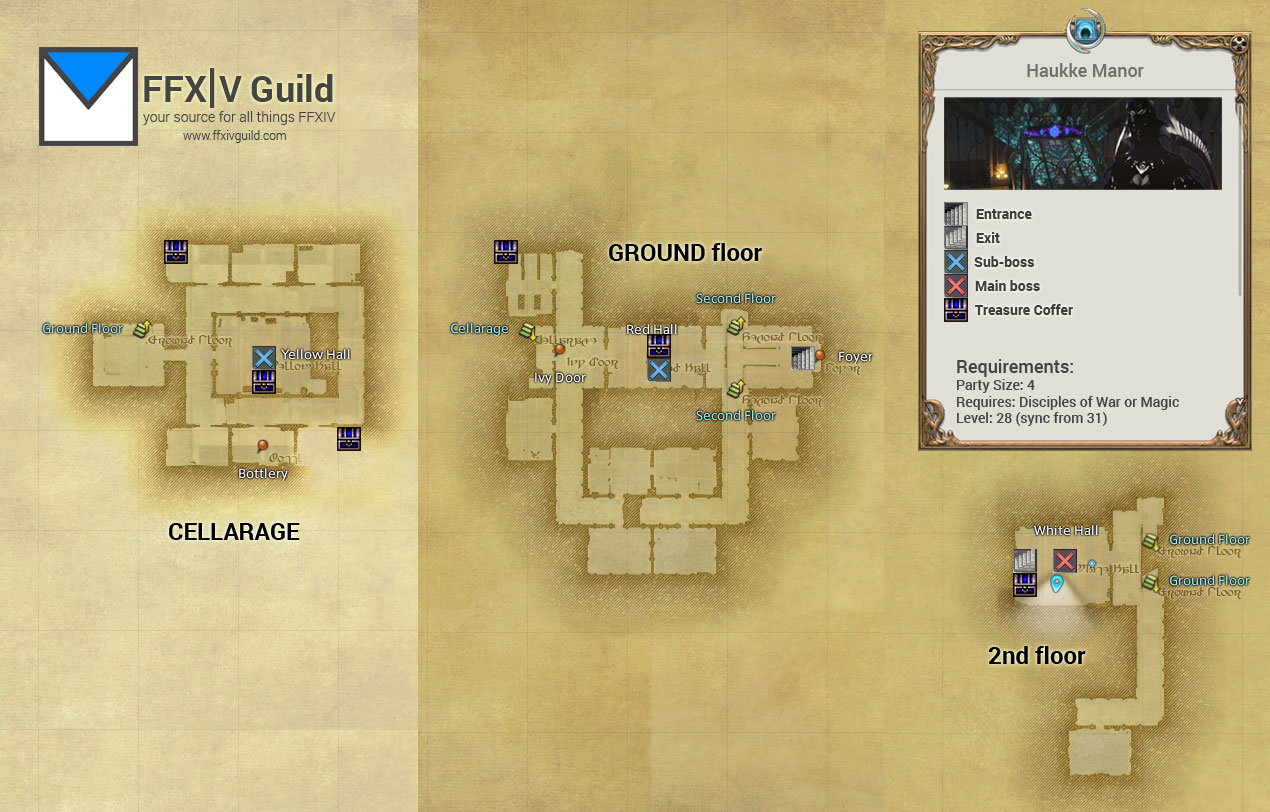
Things to look out for
A special pet “Demon Brick” drops with a 100% chance from a treasure chest just before the room of the first boss, on the left.
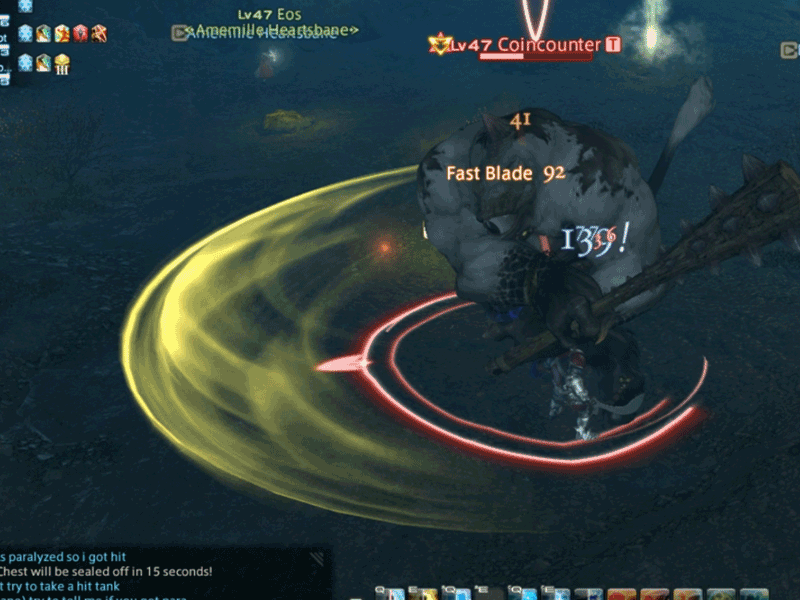
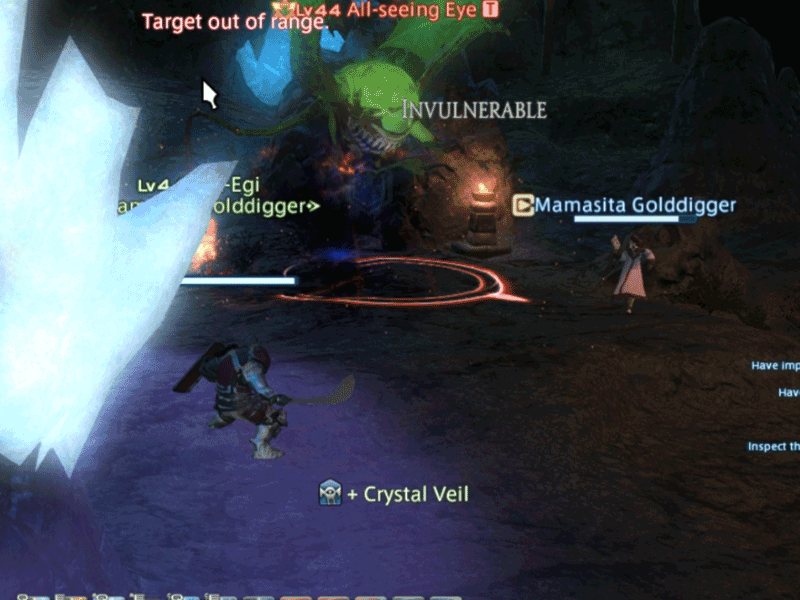
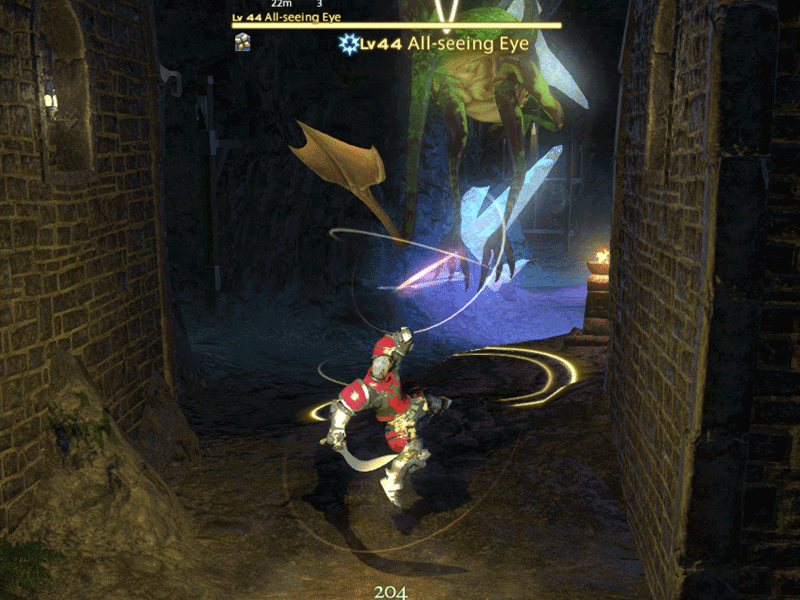
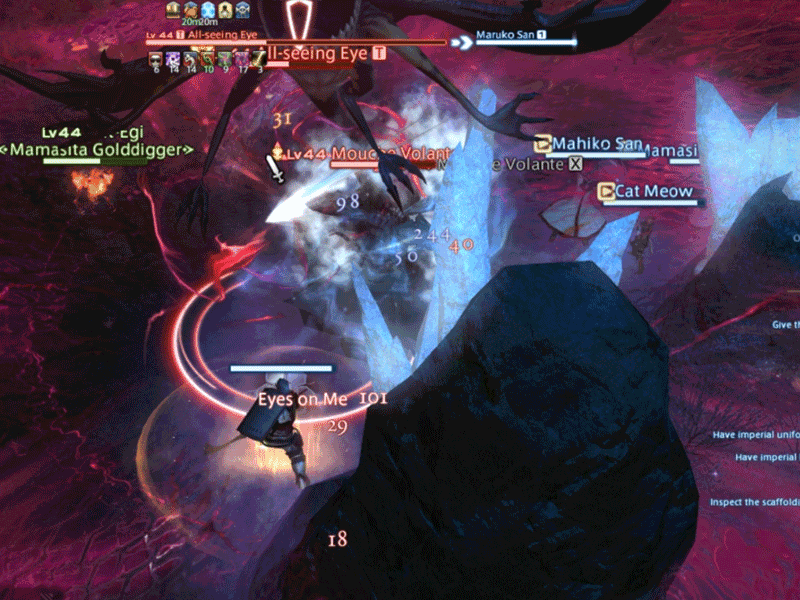
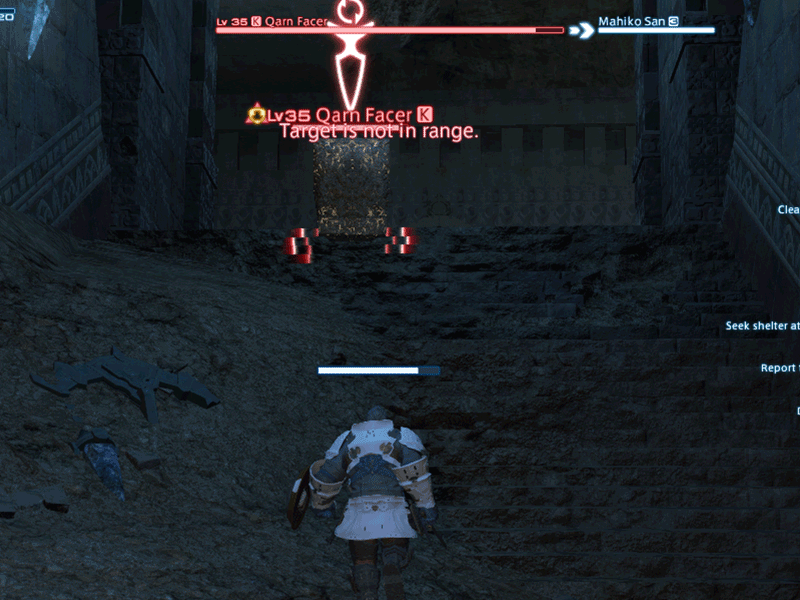
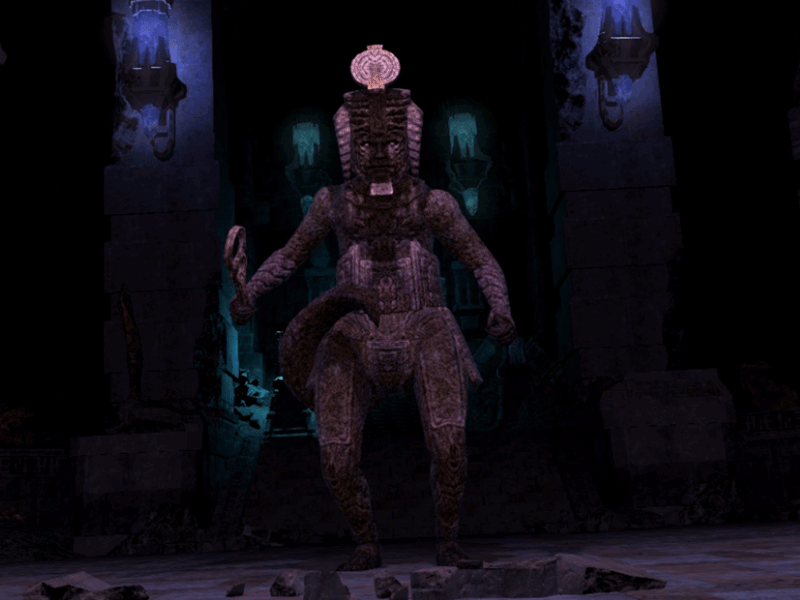
Psycheflayer
The fight start out with ‘Lunatic Priest’. After he hits around half health he will summon the real boss, Psycheflayer. Make sure you kill the Lunatic Priest as fast as possible once Psycheflayer is up.
- Tanks – Make sure you hold aggro on Psycheflayer when he spawns. He can one-shot your healer. If you let go of Lunatic Priests enmity, it’s okay.
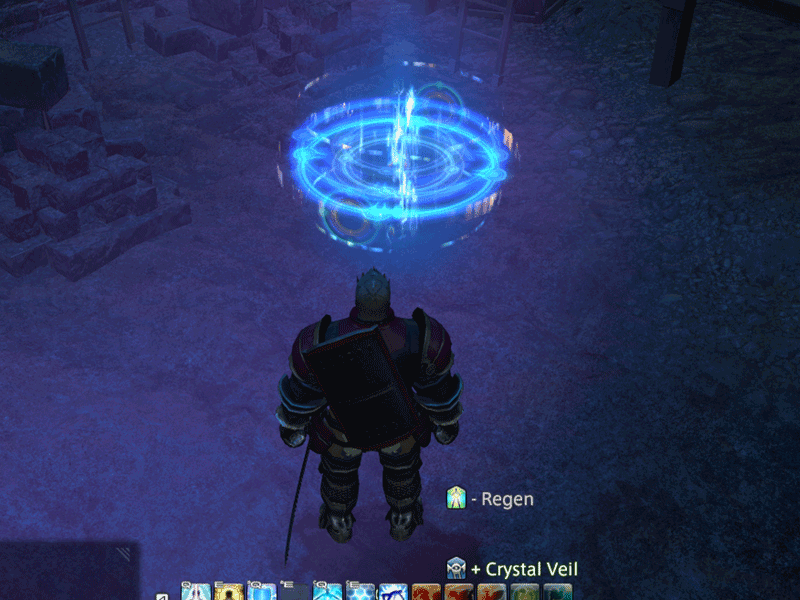
- Healers – Use Stoneskin on your tank to prevent getting enmity when Psycheflayer spawns. Don’t use regen before this either. Make sure to use Esuna on “Disease”, as it halves healing.
- DPS – Kill Lunatic Priest ASAP.
Psycheflayer has two main abilities. A heavy single target nuke, and an AoE attack. He will use this abilities throughout the fight.
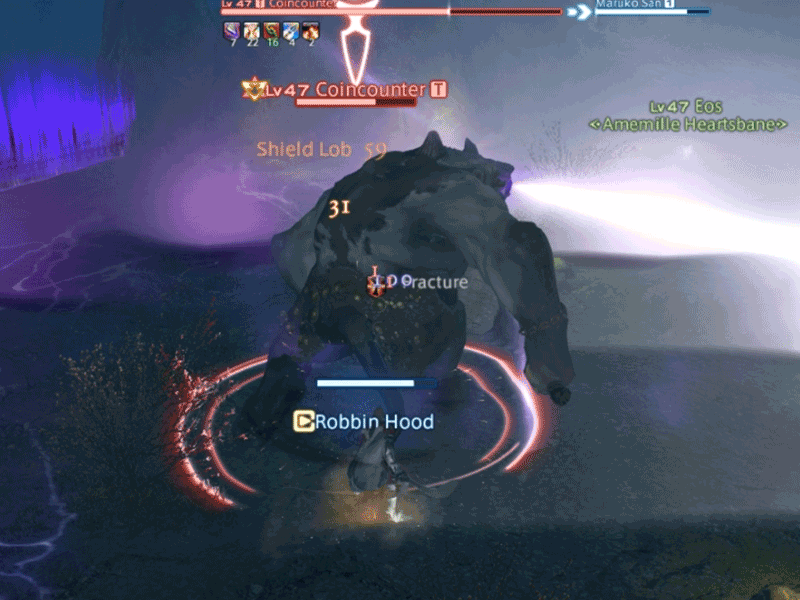
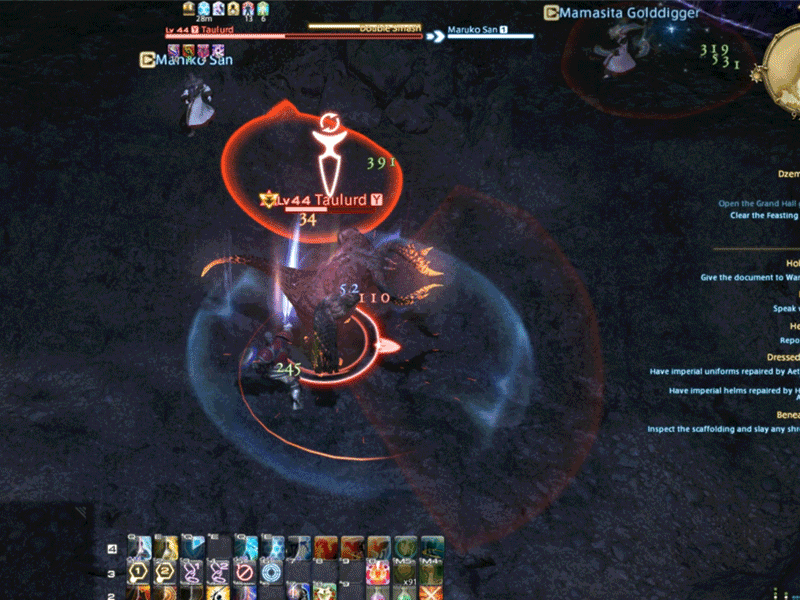
Phase 2
Psycheflayer will periodically animate golems. These golems have 2 main abilities, A frontal line attack which should be dodged, and a heavy AoE attack.
- Tanks – should try to stick to golems. As long as they dont go to your healer, you’re okay.
- Healers – AoE damage can get pretty out of hand – get ready for it.
- DPS – Save offensive cooldowns for when golems spawn. The faster they die, the less damage your team takes.
At lower life, Psycheflayer animates a Giant Golem, which does a massive AoE attack. This can be dodged by taking cover behind pillars, or simply moving out of the way. He will die when Psycheflayer dies.
Demon Wall
Demon Wall may seem like a daunting fight, but once you (literally) get the rhythm down, he’s not that bad.
The main mechanic of this fight is the “dance” you have to do. Demon Wall will spawn a black stripe you must avoid at the center of the lane. Following that, 2 black stripes at each side. This process repeats twice, after that he does Repel. Repel will push you off (resulting in KO), if you are not in the center of the lane.
After 2 Repels, he will spawn adds. These bees have very powerful AoE attacks that should ideally be dodged or avoided.
Helpful tips:
- Stay at the edges after each repel since the first area to avoid is always the middle.
- DPS Limit Break of any kind should be used on the bees if you have it. (Still totally doable otherwise)
- Tanks / DPS – Stop the bee’s AoE if you can.
- Healers – Spam healing if you have to. It’s a very short fight.
Also, after each repel he will move closer to the ooze at the end of the lane. Eventually resulting in a wipe if he is not killed on time.
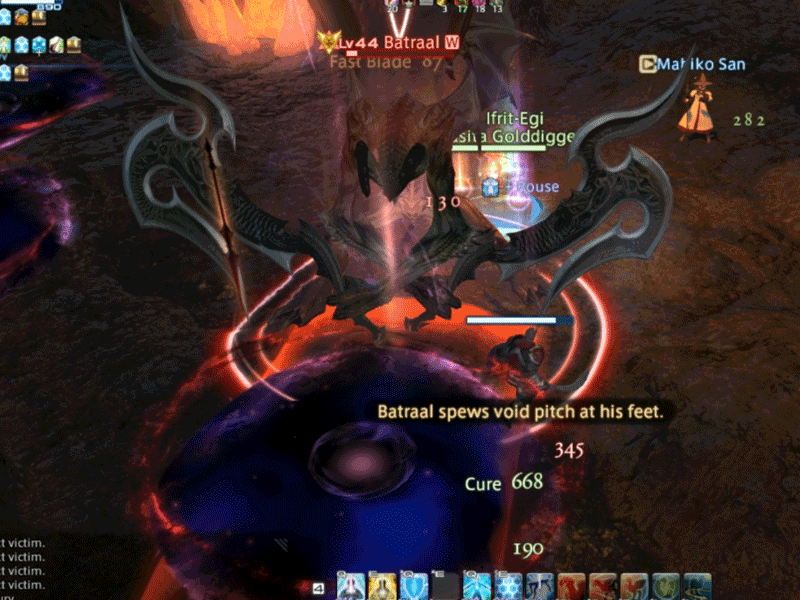
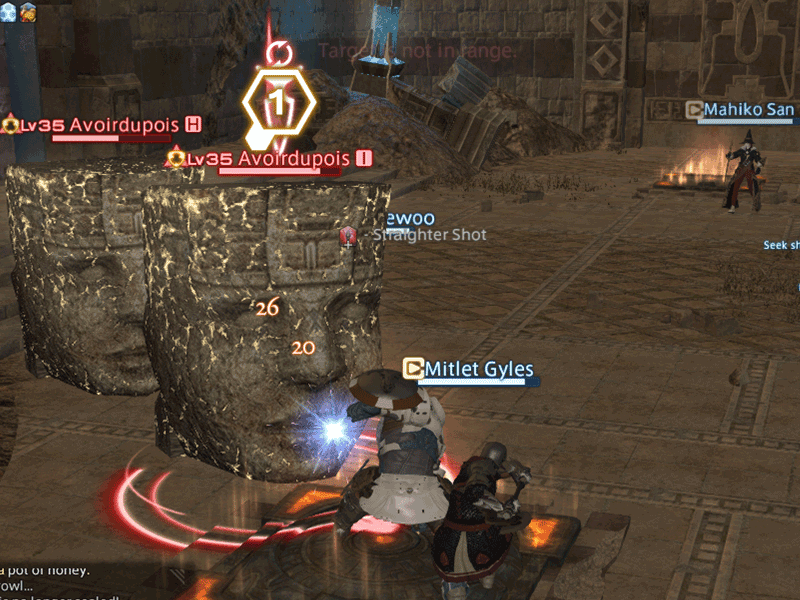
Anandaboga
This fight is very easy, but one wrong move can cause things to go in an uncontrollable spiral. Anandaboga has three moves to look out for.
- A frontal cone attack that should be avoided at all times.
- A rear cone attack that should be avoided at all times.
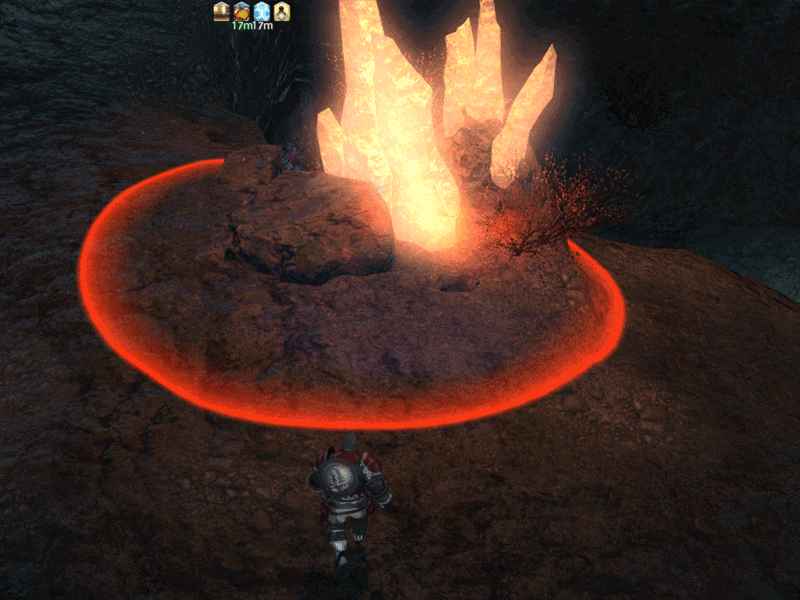
- >He periodically summons a ball of energy in the center of the room. Take cover behind the Gargoyle statues.
- Healers : You must dispel disease at all times.
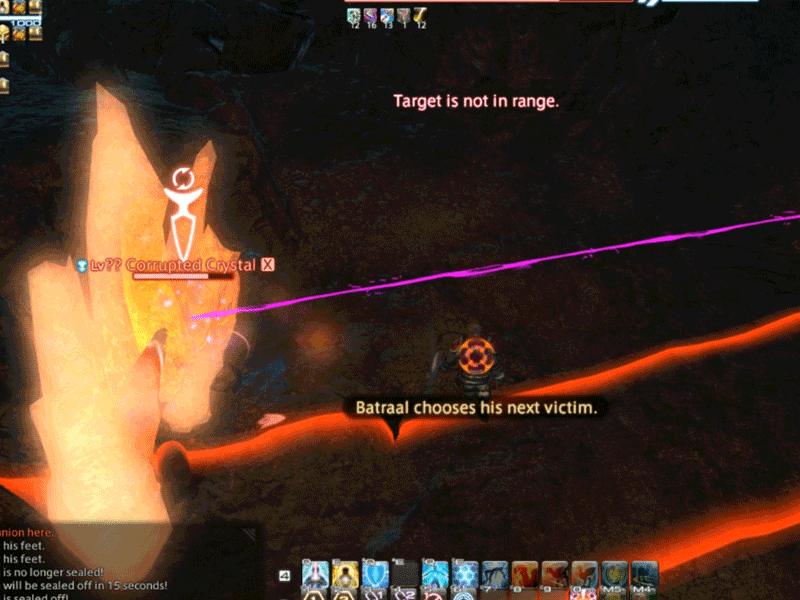
After a set amount of time, the statues will animate to become adds, in this order: Upper Left, Lower Left, Lower Right, Upper Right. Because of this, Anandaboga should be tanked in the right side of the room. Needless to say, kill gargoyles immediately after they spawn.
After two Gargoyles, he gains a new ability. A bright pink line will appear to be connected to a random non-tank party member. Whoever is affected by this line must run as far as you can from your team. A ball will soon appear where this party member is, and continue to damage anyone in a large area of effect around it. As you can imagine, you want this as far from your party as possible.
Since these gargoyles also serve as cover from his ultimate, once the last one turns into an add Anandaboga must die quickly after. You won’t have any cover left after the fourth one!


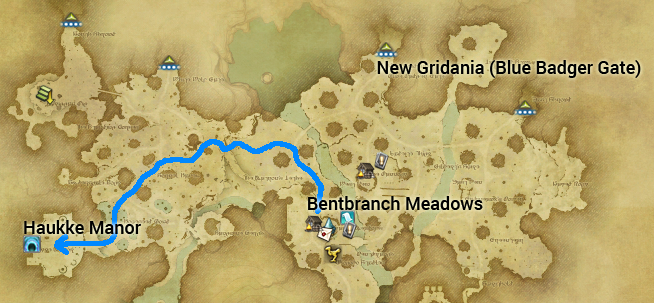
 click image to enlarge