So we thought of putting together a page where we can answer all the questions we’ve been getting and make sure everyone has access to this important information.
Please feel free to ask any questions in the comments below
**IF YOU WANT TO PLAY EARLY ACCESS, YOU MUST BUY FFXIV:ARR NOW![]() **
**
Cheapest price on Amazon (Up to 10$ Credit off): Final Fantasy XIV: A Realm Reborn![]()
Timelines for the next few weeks up to launch date for Final Fantasy XIV: A Realm Reborn (Open Beta, Early Access included). This holds true for both PC and PS3 gamers.
August 17: Headstart for those who participated in Beta 3August 18-19: Open Beta for all, if you registered(https://secure.square-enix.com/account/app/svc/ffxivbetatop?rgn=na)- August 24: Early Access for those who Pre-Ordered
——Register your pre-order code [here] - August 27: Official Launch Date
Findings from Open Beta (August 17-19). We will continue to update this list so keep looking
- Speculation for all Class Requirements for Jobs can be found here (https://ffxivguild.com/ff14-job-requirements-arr/)
- Hunting Logs are only up to Rank 2 (19/20 hunts)
- Main story quest ends with Ifrit Battle (must be level 20 to reach the end of the chain)
- Grand Company quest is not yet available
- Chocobo quest is not yet available. License though, costs 2,000 GC seals
- News for a Stat point re-allocation item is being sold in the respective GC quartermasters The Keeper’s Hym and it costs 10,000 GC seals
- ACN queue in duty finder as DPS
- ACN gets a heal at level 4 called Physick. Can be used by multiple classes
- There are markers in the inventory to show you which equipment you cannot wear.
- DoT that you initiate shows up with a green timer to help distinguish
- Rumor of decreasing Duty difficulty after you fail has been heard, but no solid evidence yet
- Fishing is available
- How to import character appearance data if you created one in the benchmark, if it doesn’t show immediately, simply cancel the current character you are creating and start again.
- New interface with Map: If you press M twice, it will toggle the opacity of the map, simply hit ESC if you wish to close the map
Tips and Tricks for Open Beta:
- When leveling your secondary/third class make sure you use the Duty Finder while farming Fates. This works better if you and your friends party up!
- We found a place in Western La Noscea below Sastasha where you can level up your secondary or third class (there are two fates lvl 15 and lvl 10 that are nearby each other)
- Rumors also of a place in Middle La Noscea, northern area where there are fates as well
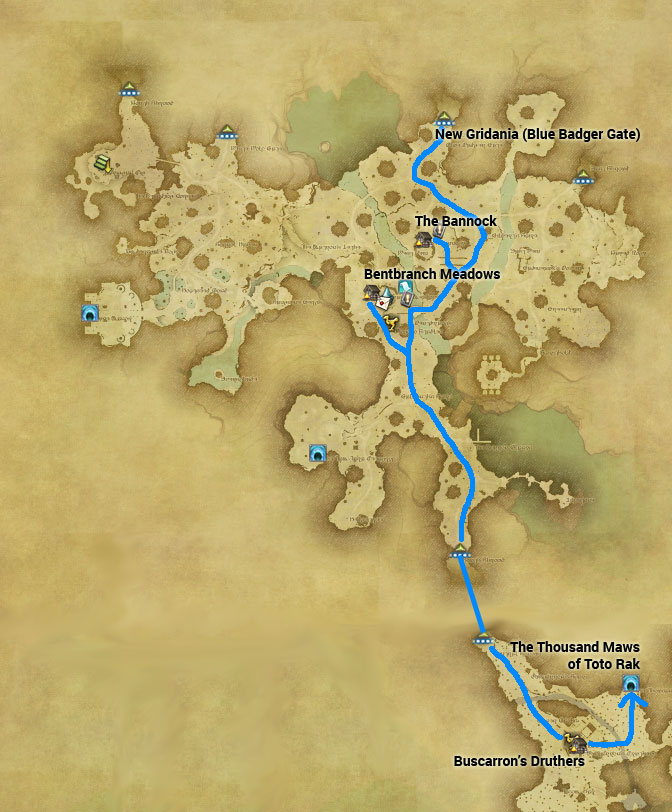
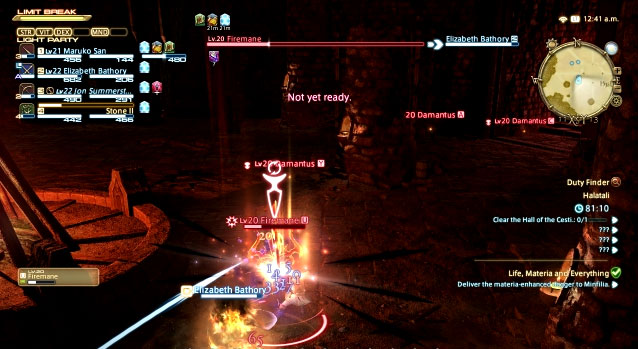
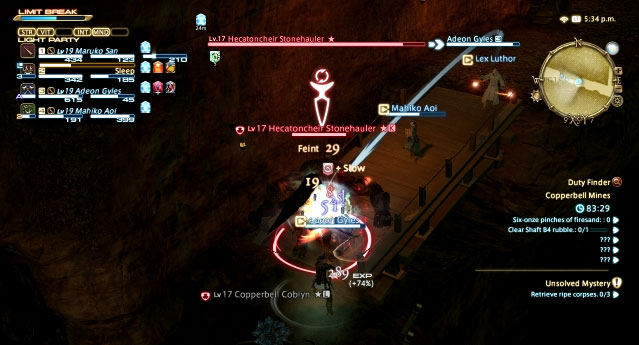
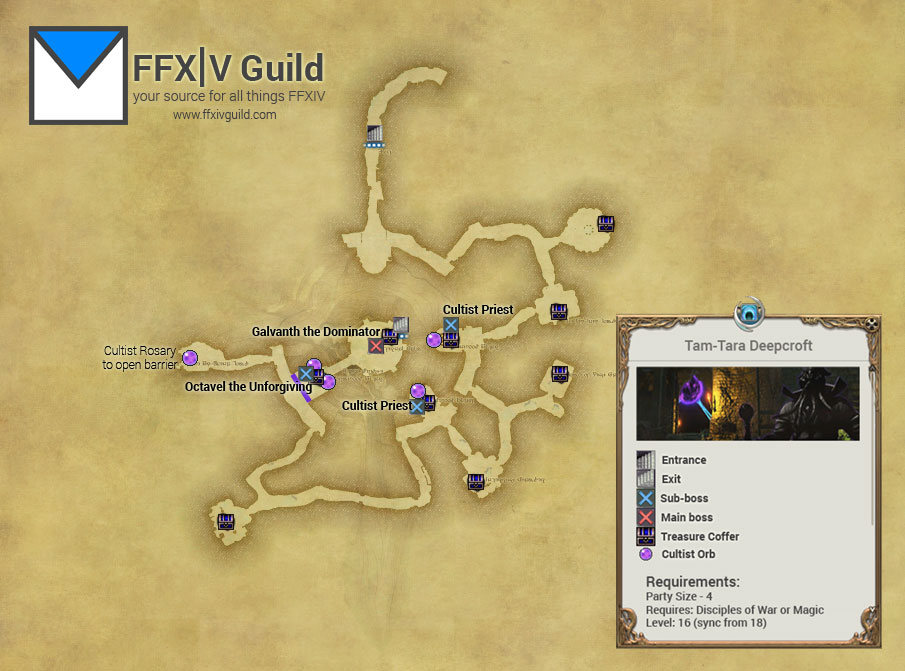
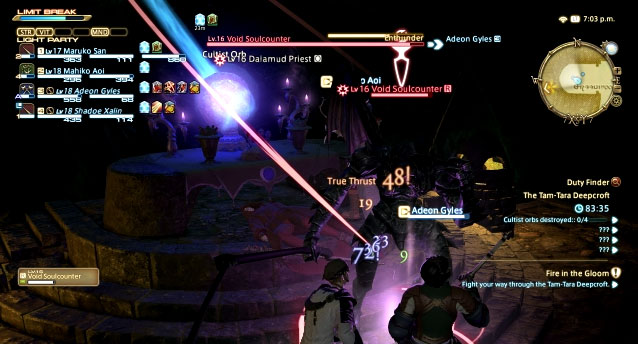
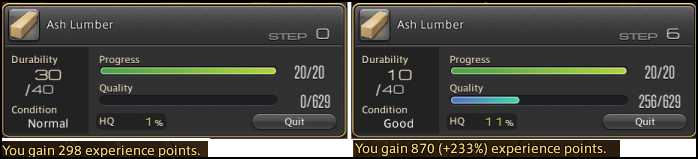
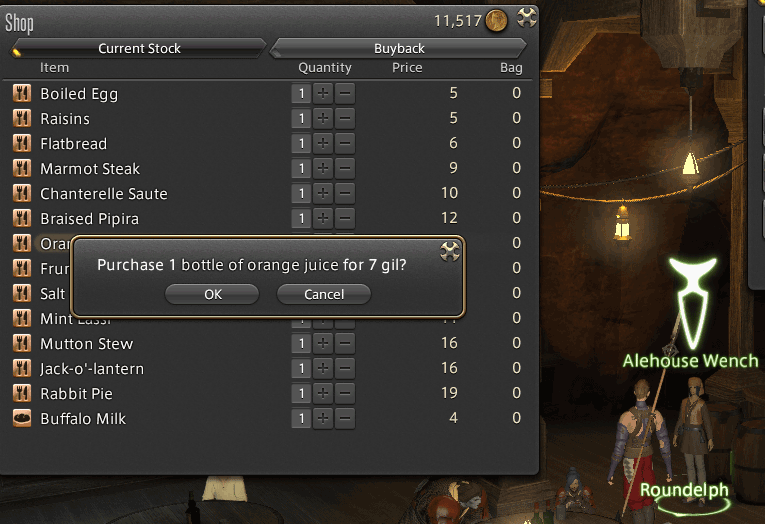
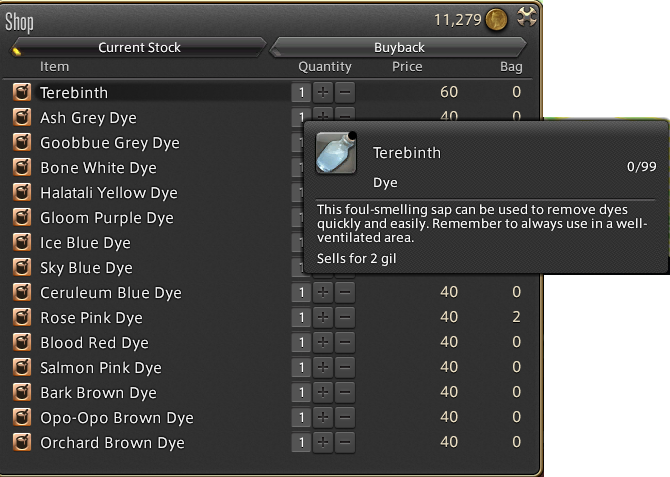
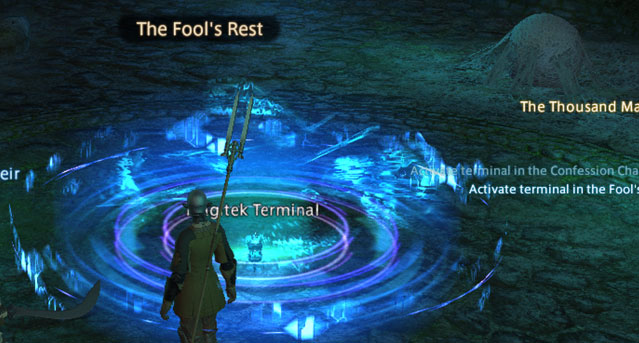
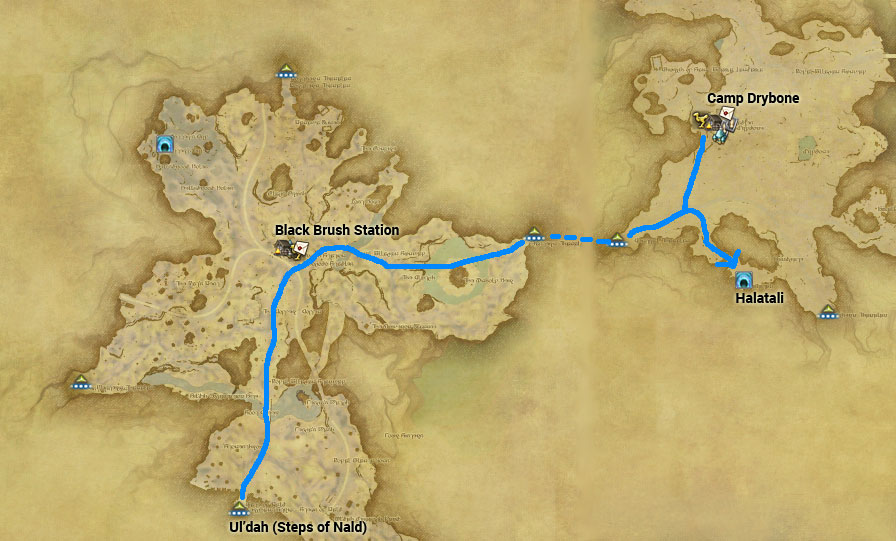
 click on image to enlarge
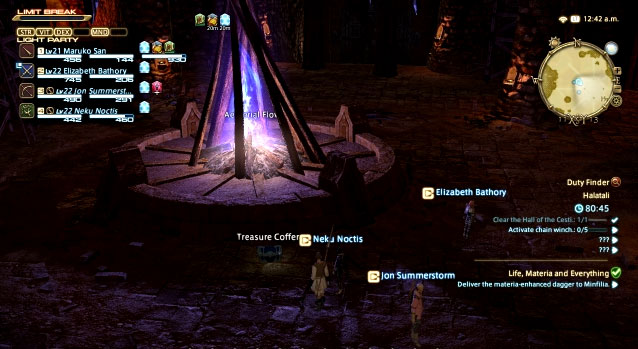
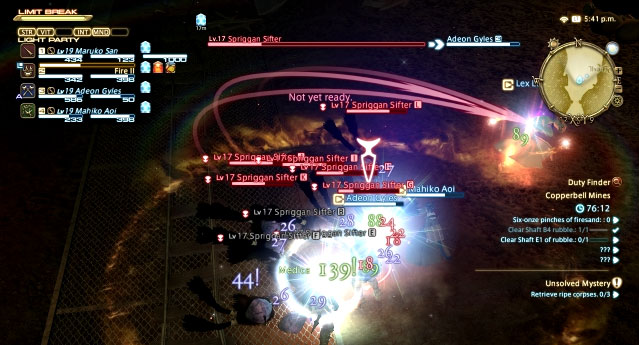
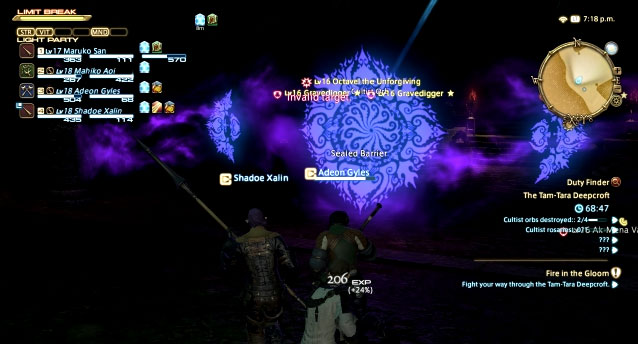
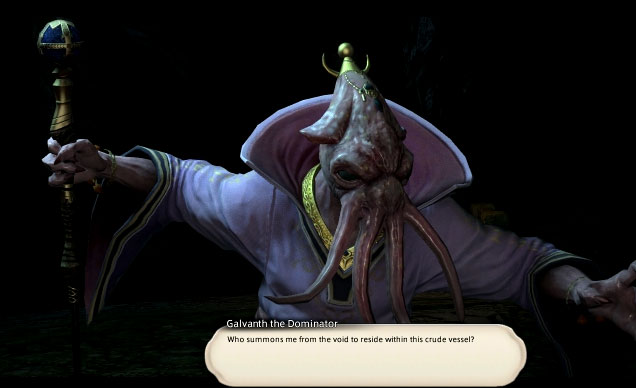
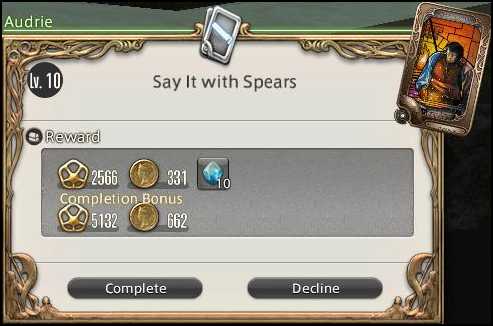
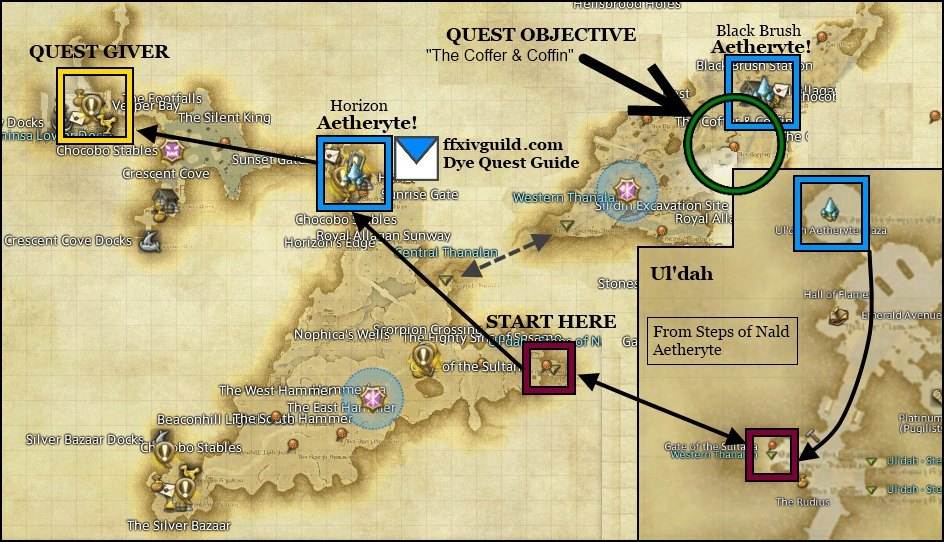
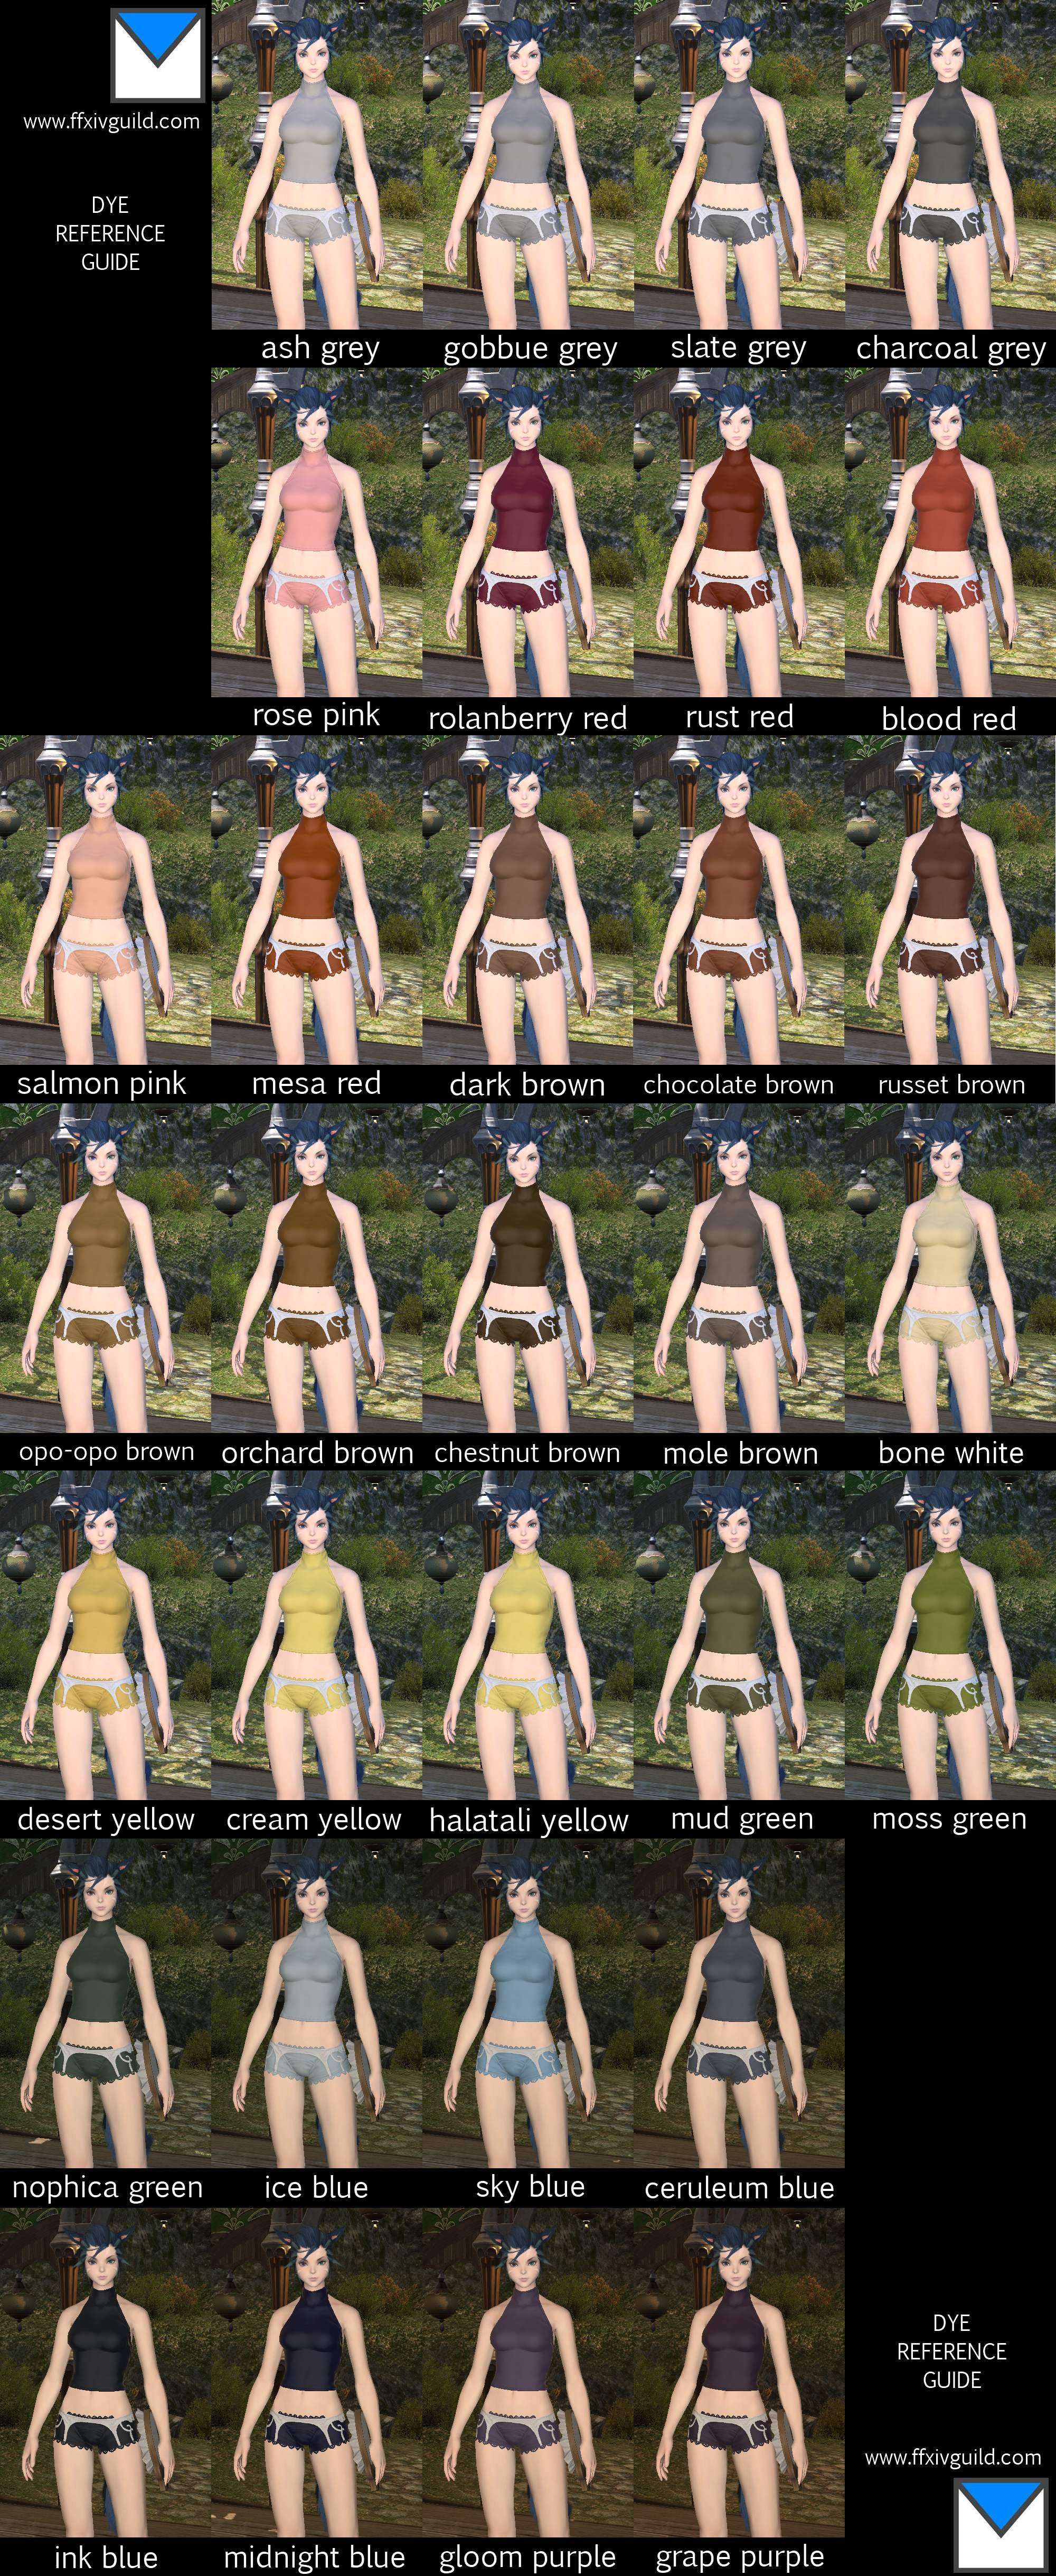
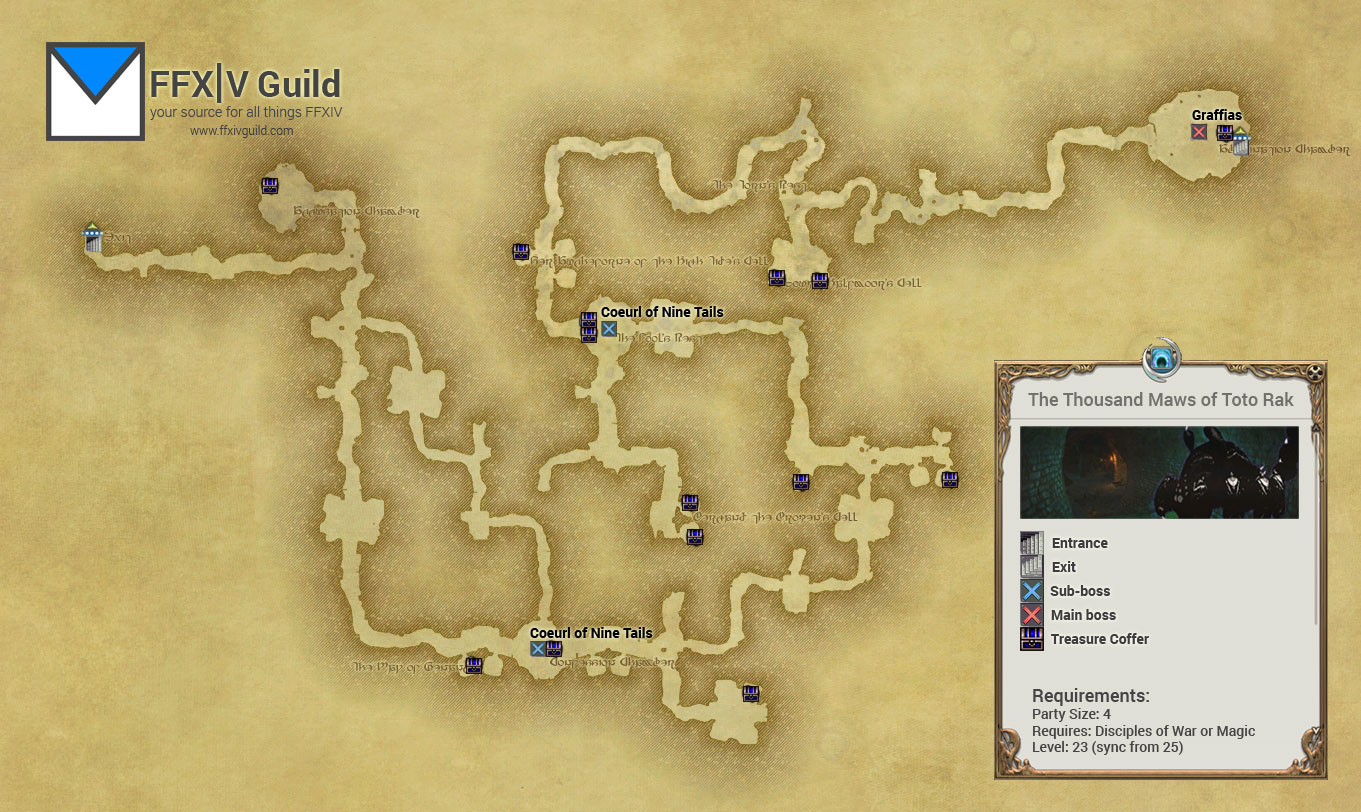
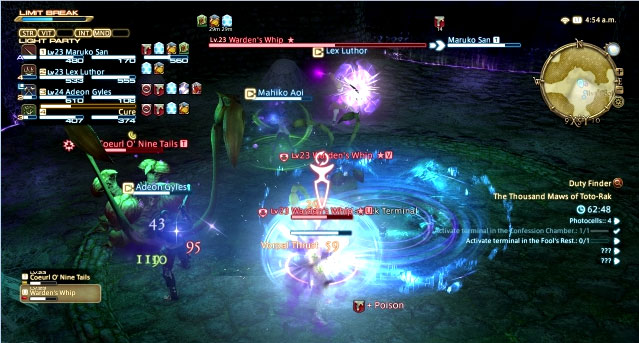
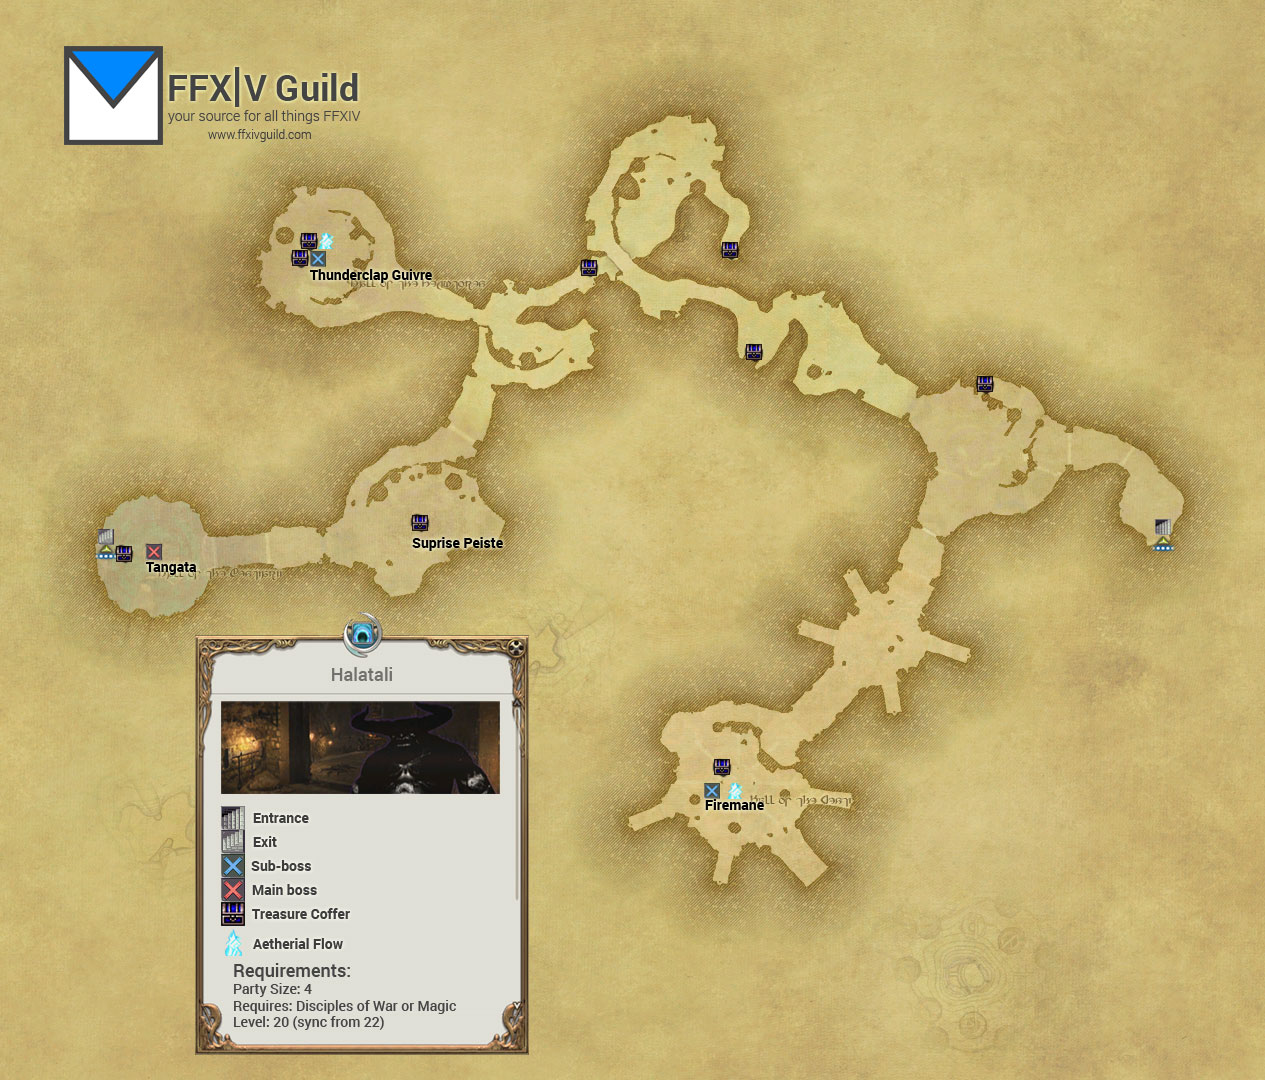
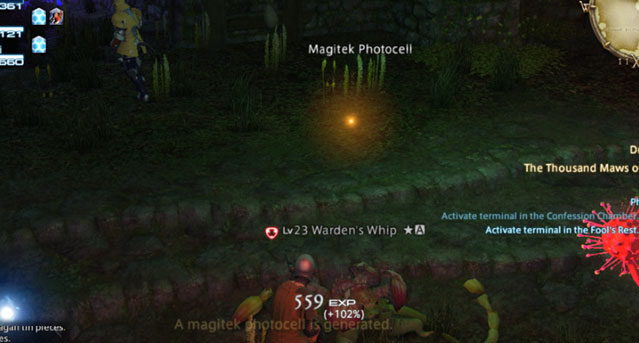
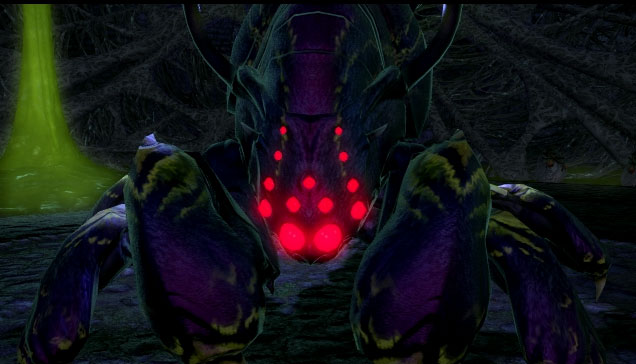
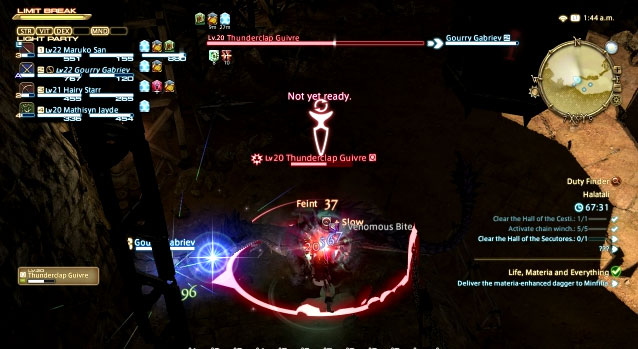
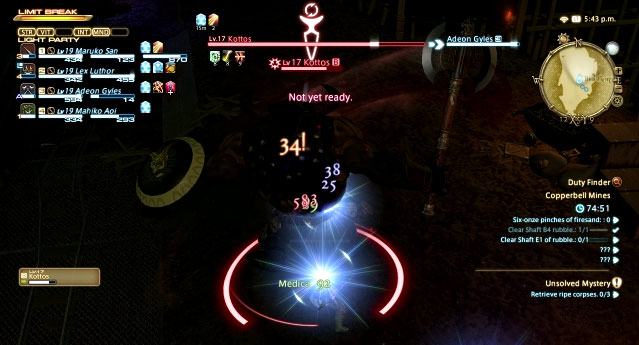
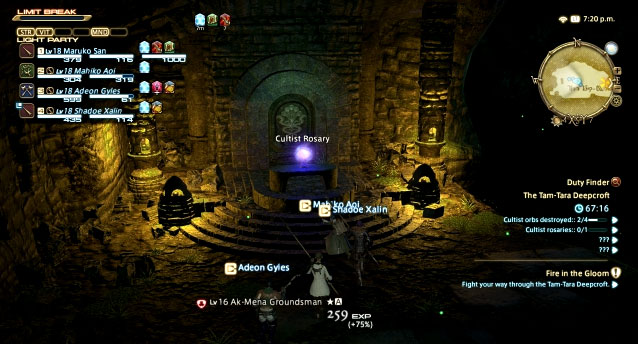
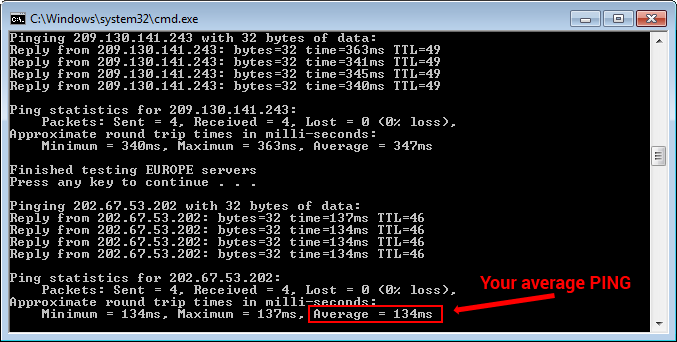
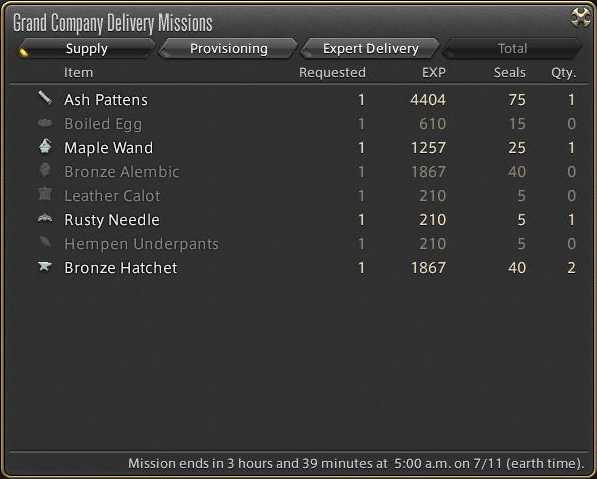
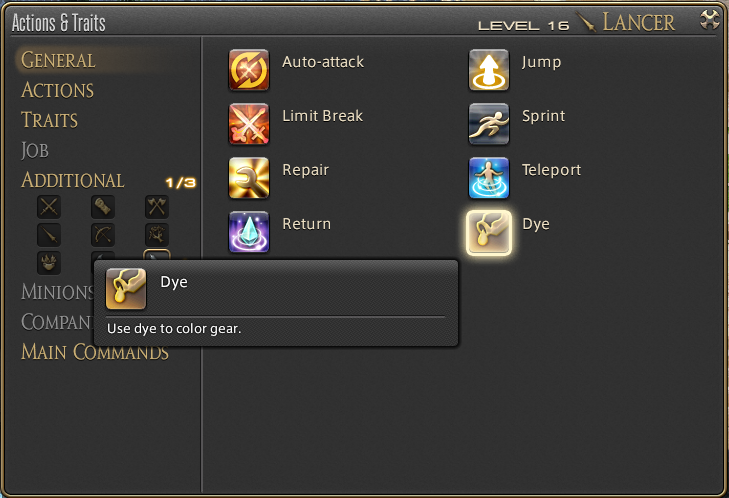
 click on image to enlarge
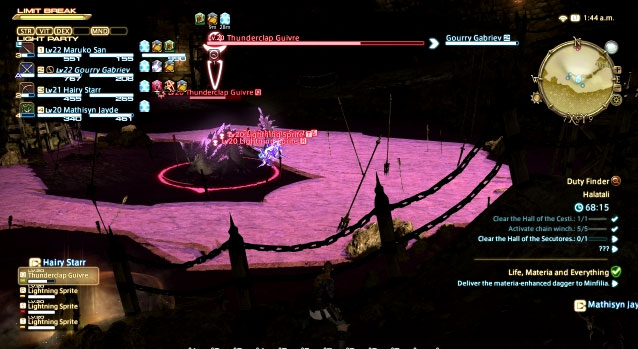
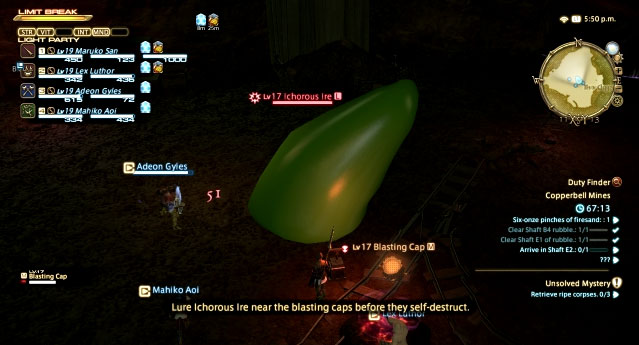
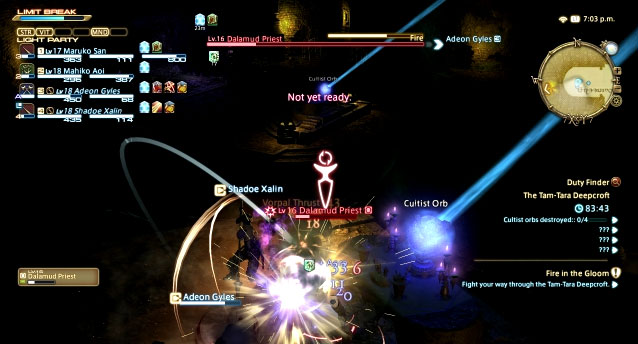
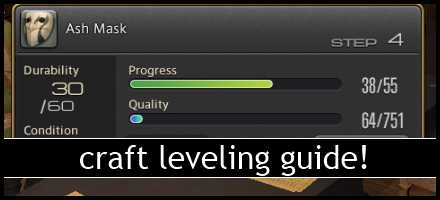
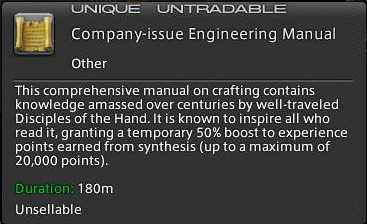
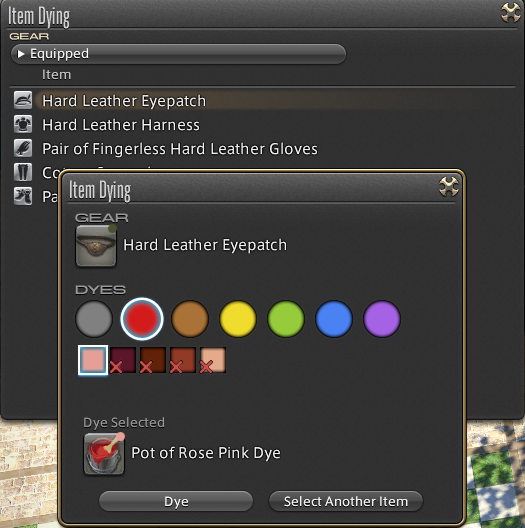
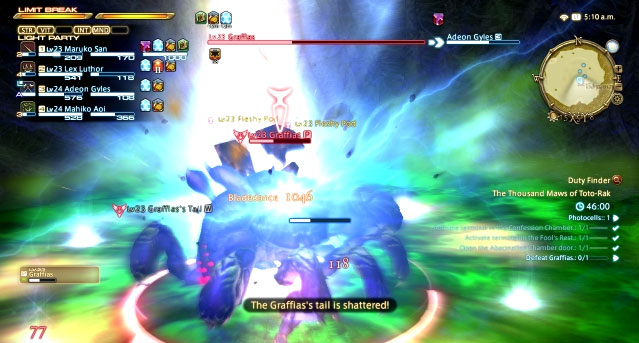